User Guide - Archived ActivForce App
Table of Contents
Connecting the Device to the Mobile Application
ActivForce Software Versions: iOS 1.7+, Android 1.7+
- Turn on the device by pressing and holding the device button until you see a blue LED flashing. A BLUE flashing light indicates that the ActivForce 2 device is available for a Bluetooth® connection to the companion mobile application.
- Bluetooth needs to be turned ON for the phone or tablet. If it is OFF, the app will remind you to turn it ON.
- In the ActivForce app, start a measurement or select “Connect Device” in the settings menu. A list of available devices will be shown in the app. Tap “Connect” next to your ActivForce 2 device in the list.
- When the Bluetooth connection is established, the device LED will flash green periodically. A GREEN flashing light indicates the ActivForce 2 device is connected to the companion mobile application.
- The app offers two main types of tests and associated reports: a. Force Measurements: Strength tests with left and right side options that report measurements in pounds, kilograms, or Newtons. b. Range of Motion Measurements: Active and passive options to obtain angle measurements in 3D space. c. A Settings menu is available to set test parameters such as test duration, number of tests, and measurement units. A “Contact Us” page is also available to send a message to ActivBody Customer Support.
- Turn off the device by pressing and holding the button until you see a red LED blink. Multiple RED continuous flashing lights indicate a low battery charge level and that the battery needs replacement. A single RED flash indicates that the device has been turned off.
Note: Always start the app and pair the device through the in-app “Connect” dialog in the app. Pairing the device through your mobile device’s Settings screen without pairing in the app will result in an error. If a pairing error occurs: close the app, turn off Bluetooth in your device’s Settings, turn Bluetooth back on, and pair the device again through the app.
Dowloading the Application
The archived app is no longer available. You can download the new version from the Apple Apple Store and Google Play Store
Creating an Account
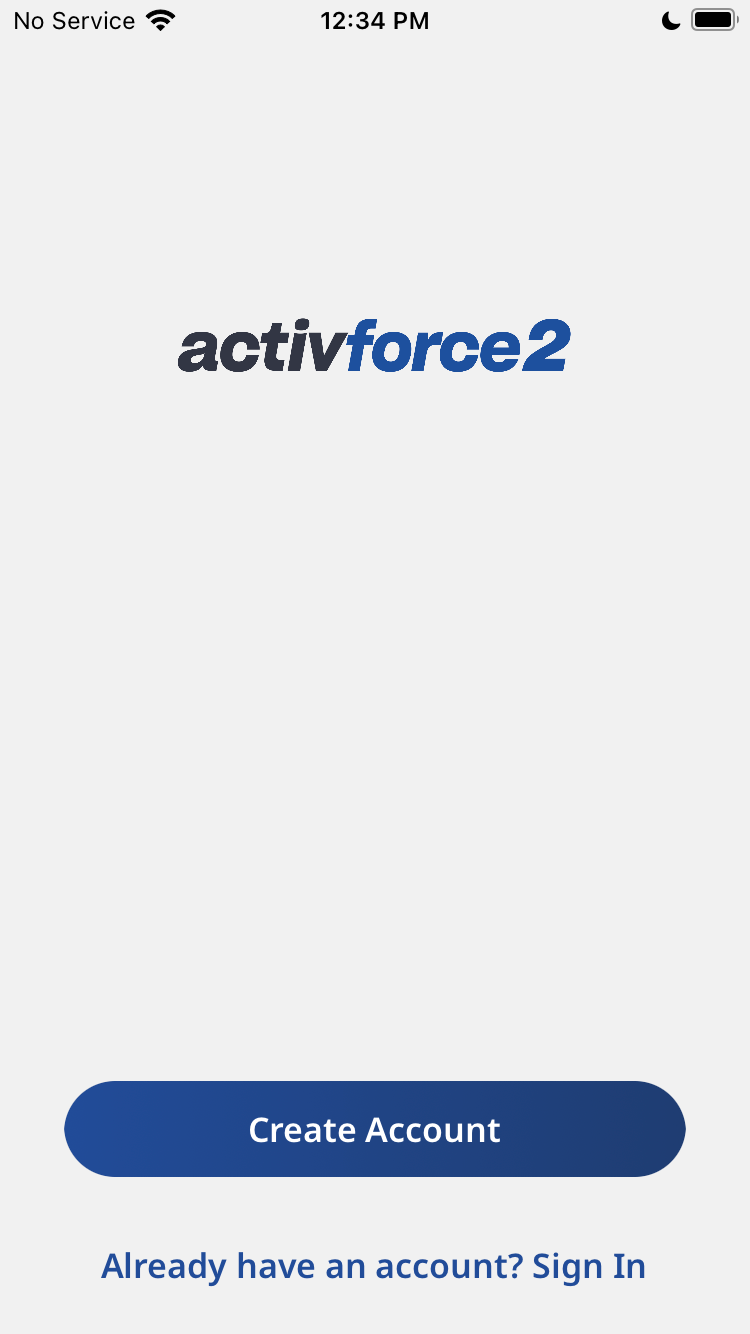
If you’re using ActivForce for the first time, you will need to create an account. Enter your email address, choose a password, and press create account.
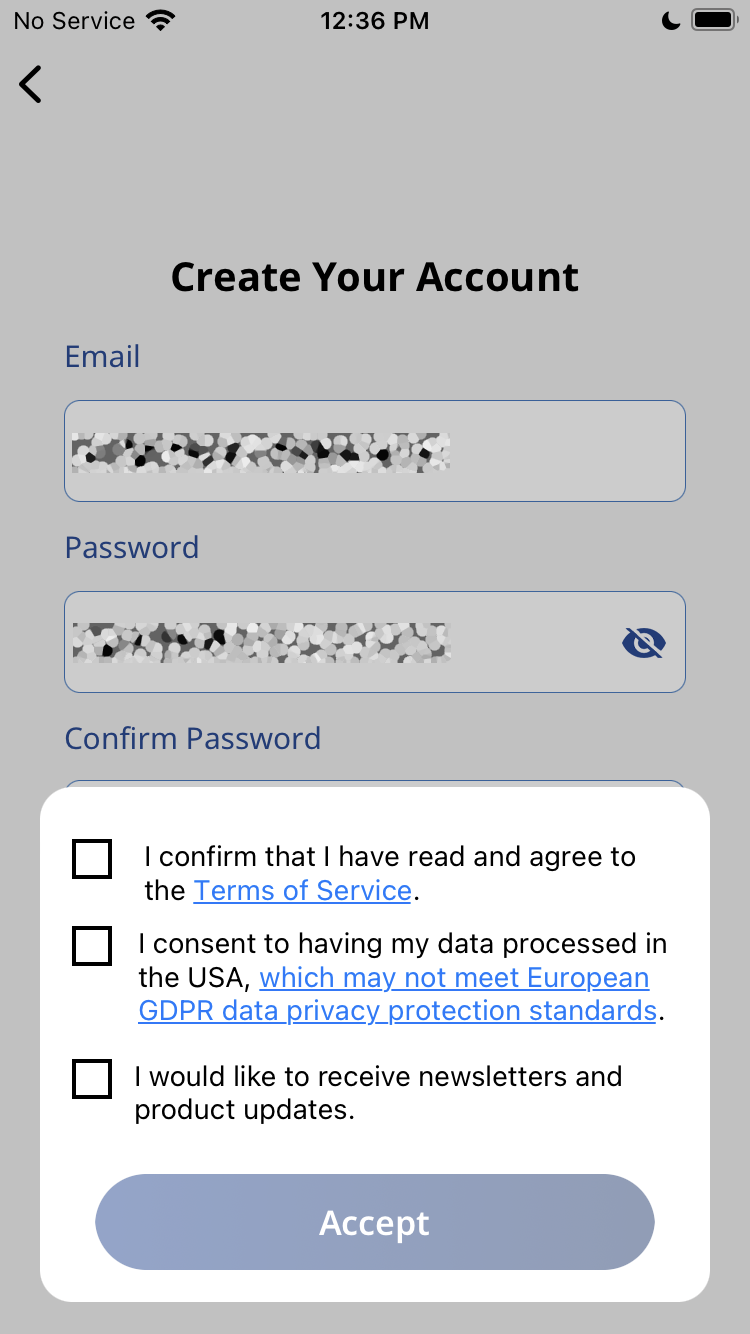
Review and accept the terms and conditions as well as the privacy agreement. Choose to opt-in or out of newsletters and product updates. Tap Accept to start account activation.
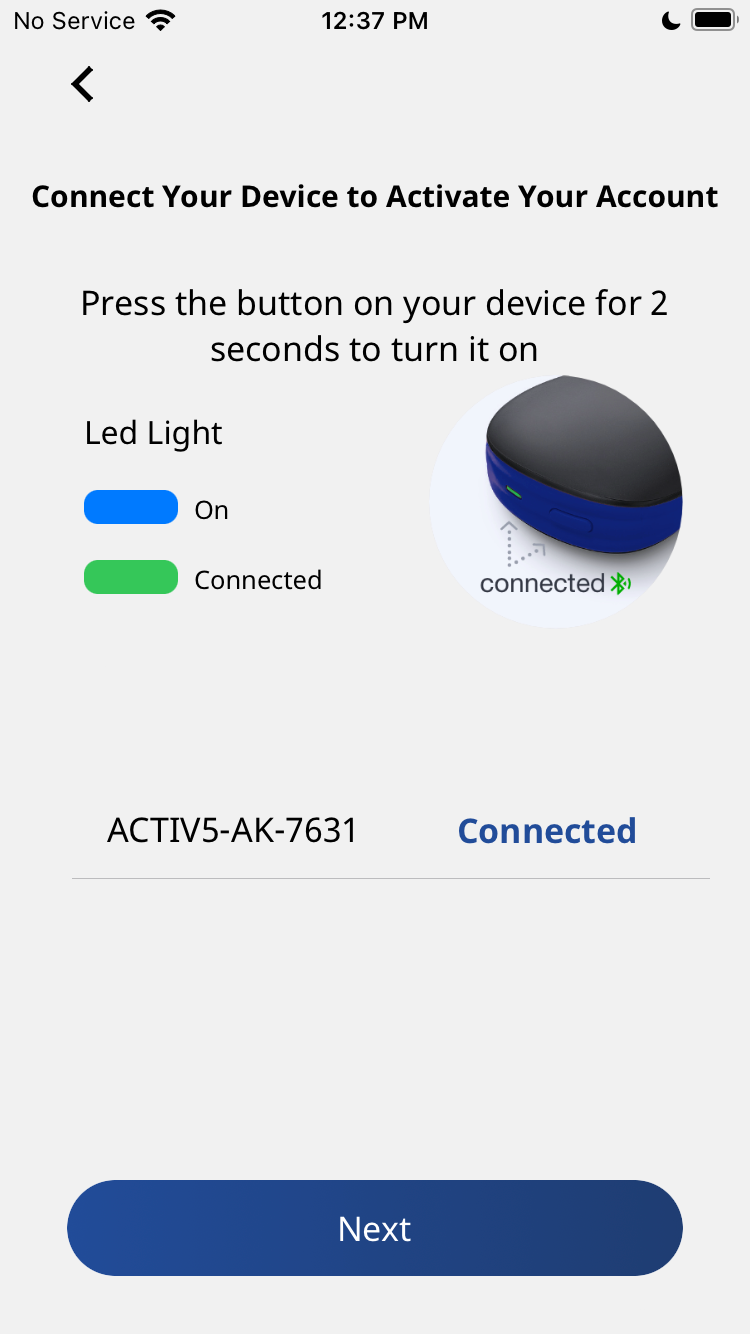
An ActivForce device is required for the following step.
When you connect the ActivForce via Bluetooth, your account will be activated. This step may require your mobile device’s Bluetooth and Location services to be on. Bluetooth is mandatory, while Location services are optional for Android versions (12 and 13), and mandatory for older versions (under 12).
First Launch Tutorial
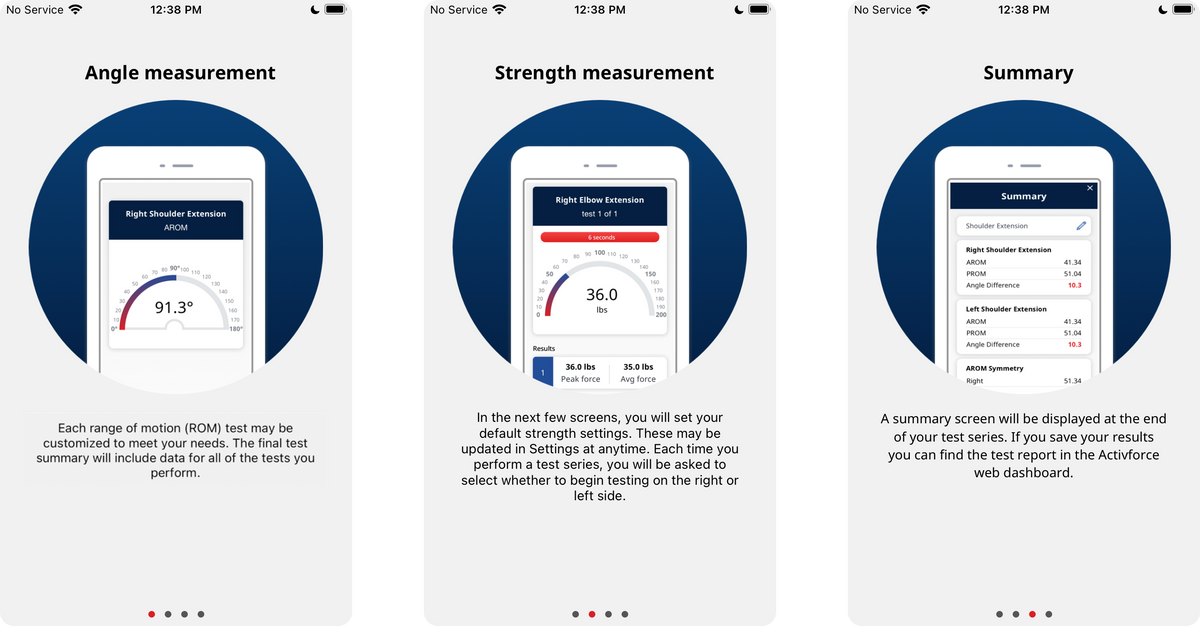
The first three screens above walk you through the use of the main features of the app (angle measurement, strength measurement, summary screen).
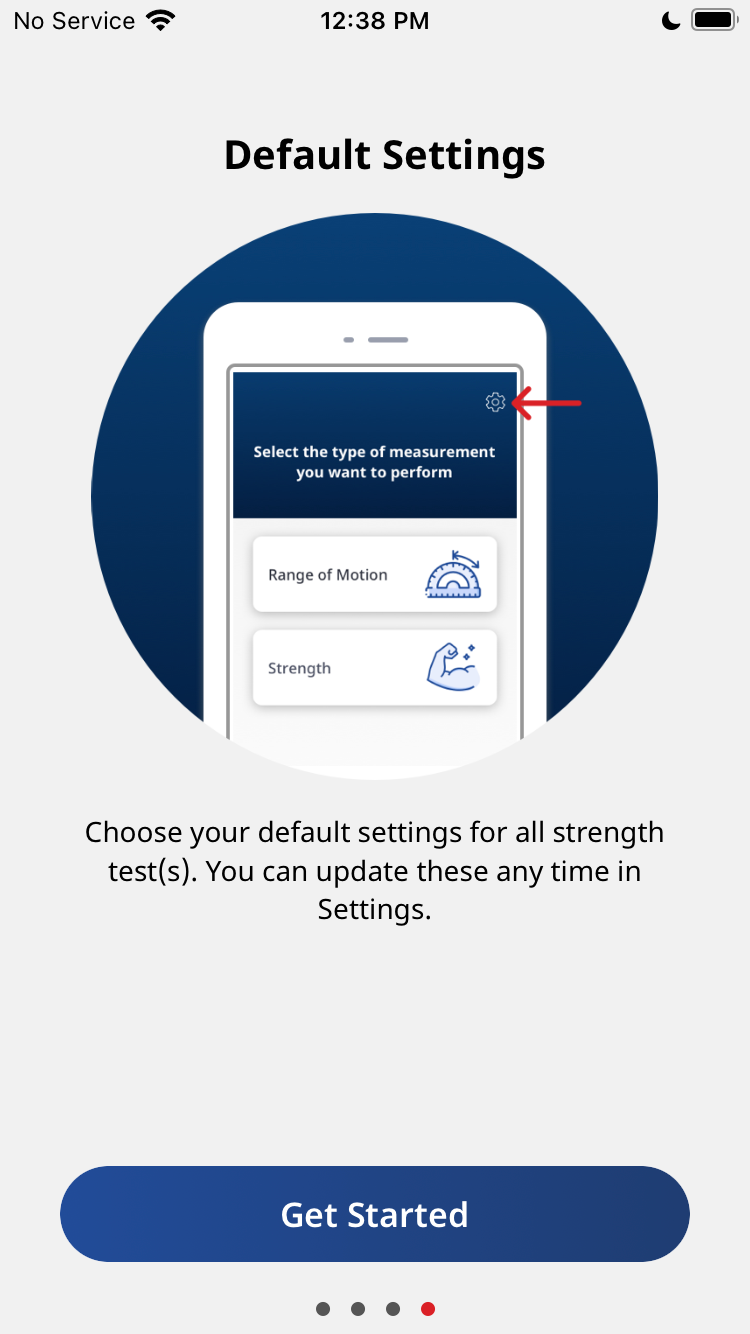
The fourth screen concludes the tutorial and prompts you to select your default settings for the app.
Selecting Default Settings
If it is your first time using the app, you will be prompted to select the default settings. These can be updated at any time in the Settings menu.
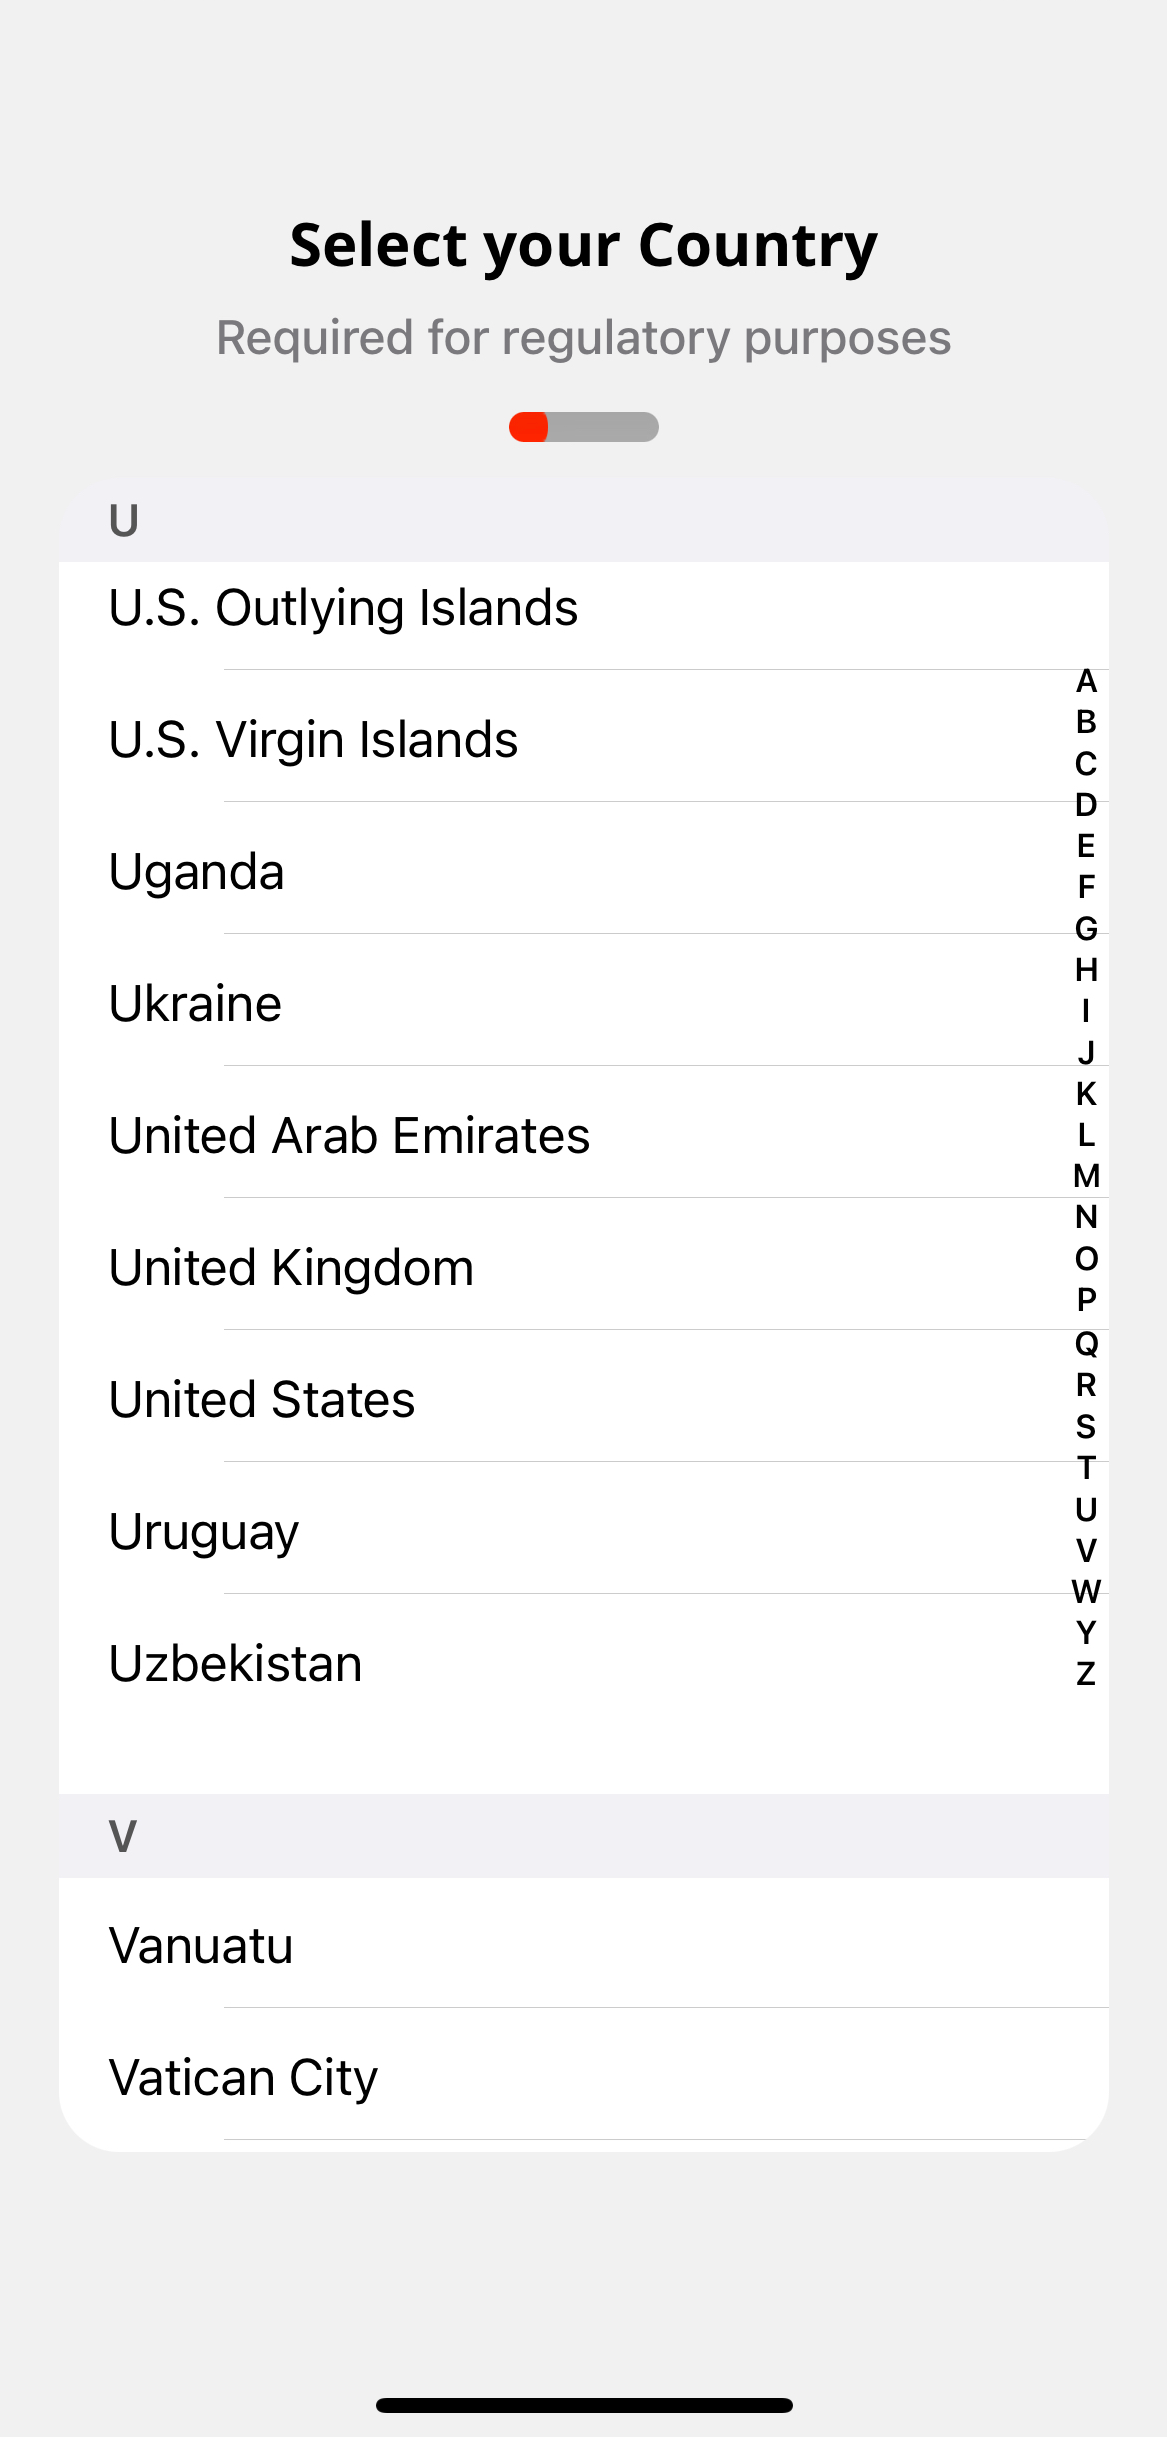
First, set your Country.
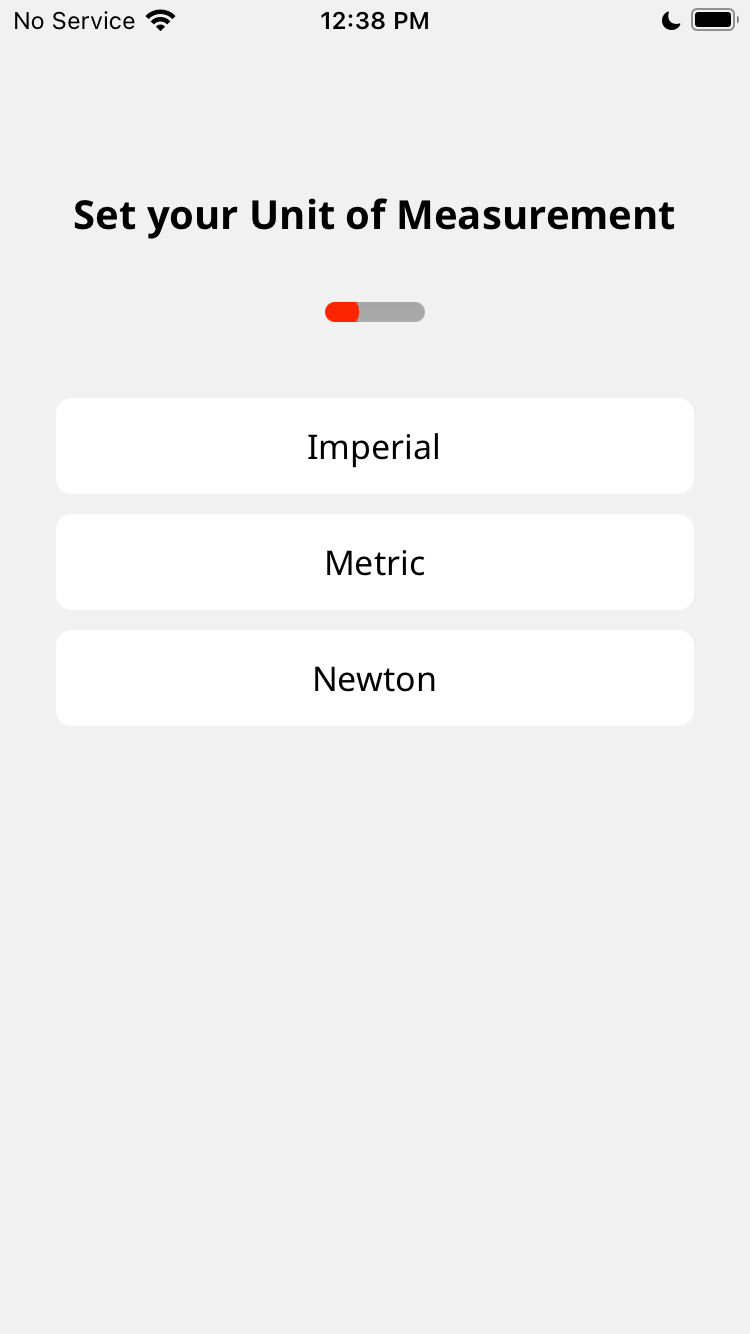
Second, set your preferred unit of measurement: Imperial (lb), Metric (kg), Newton (N).
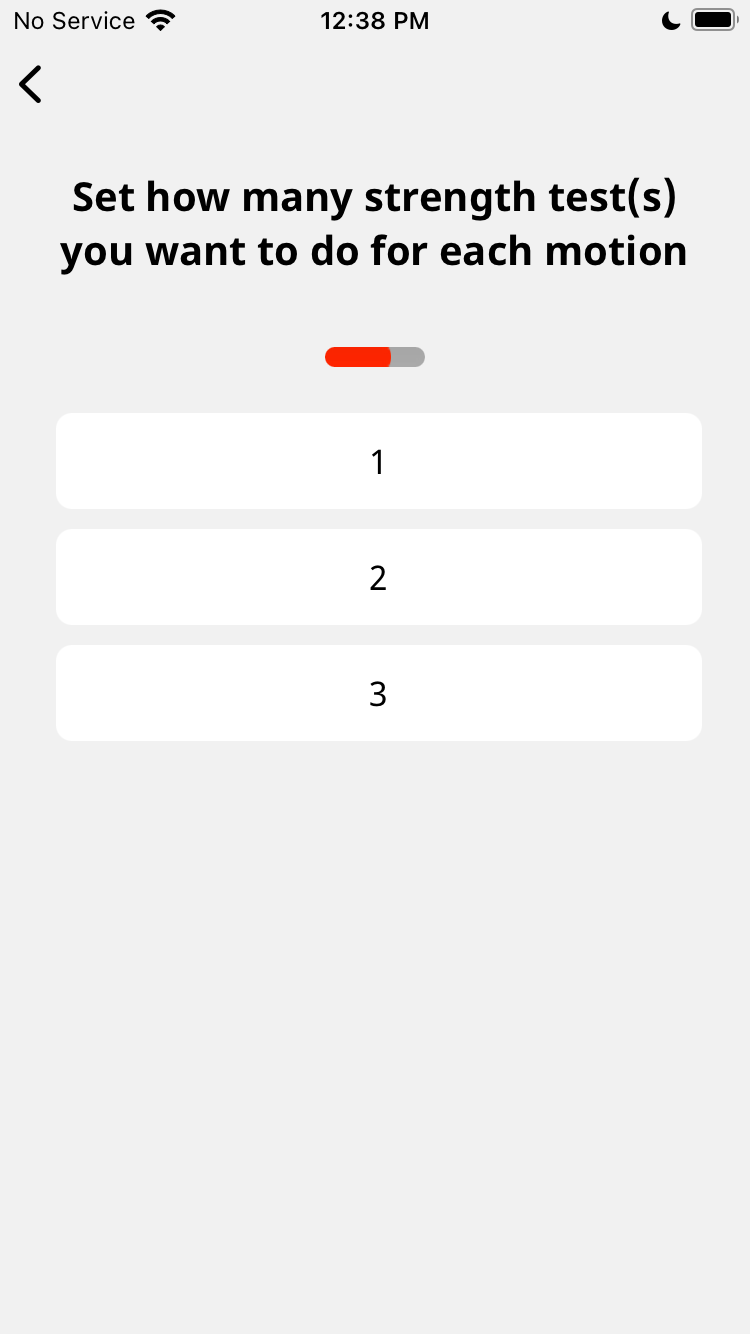
Next, set the number of strength tests you want to do for each motion.
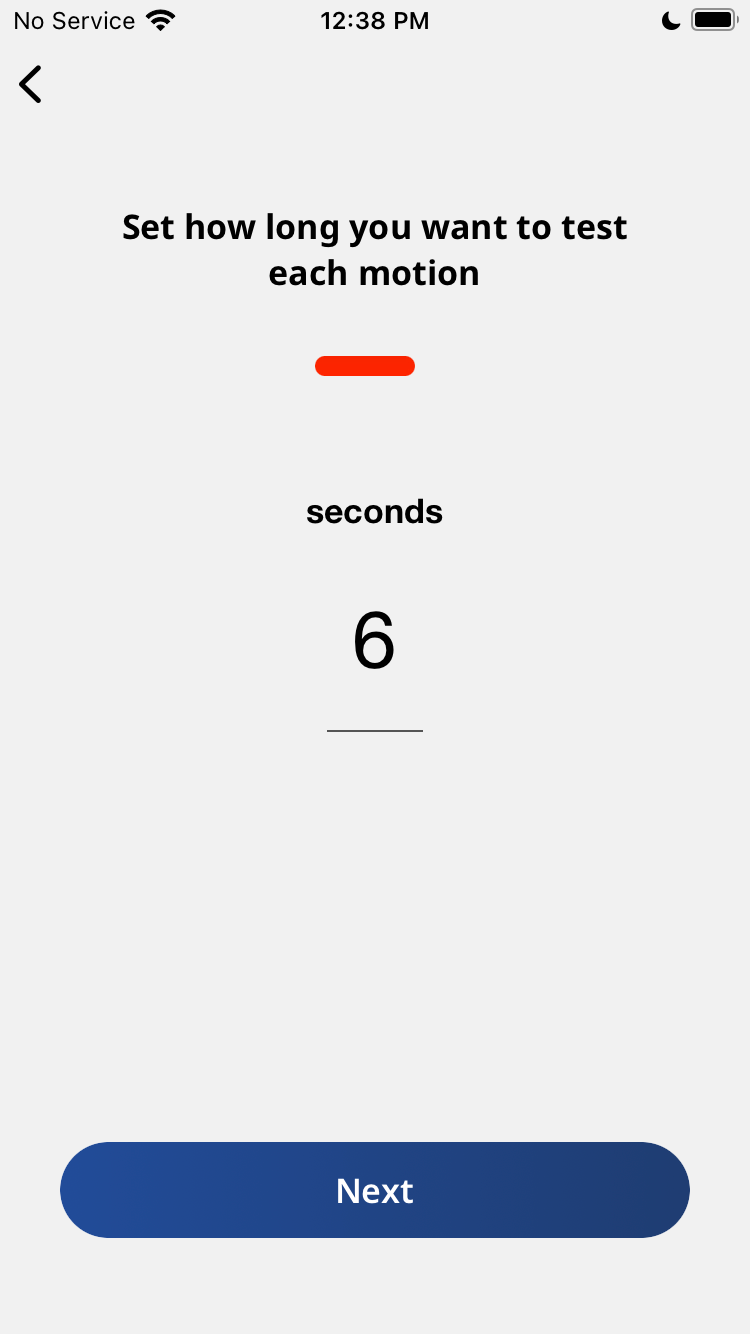
Next, set the duration of time (in seconds) for each strength test.
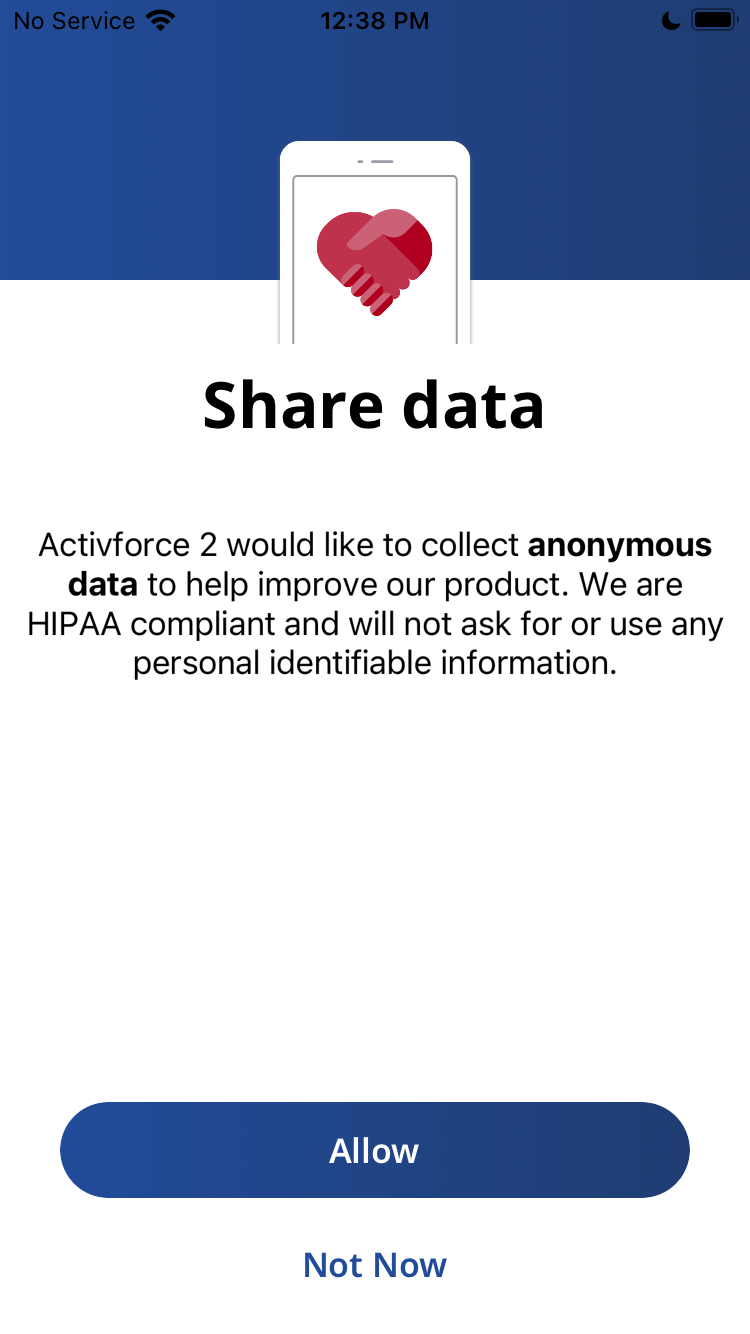
Finally, the app will ask you if you would like to allow the sharing of anonymous data to help improve ActivForce.
Signing In
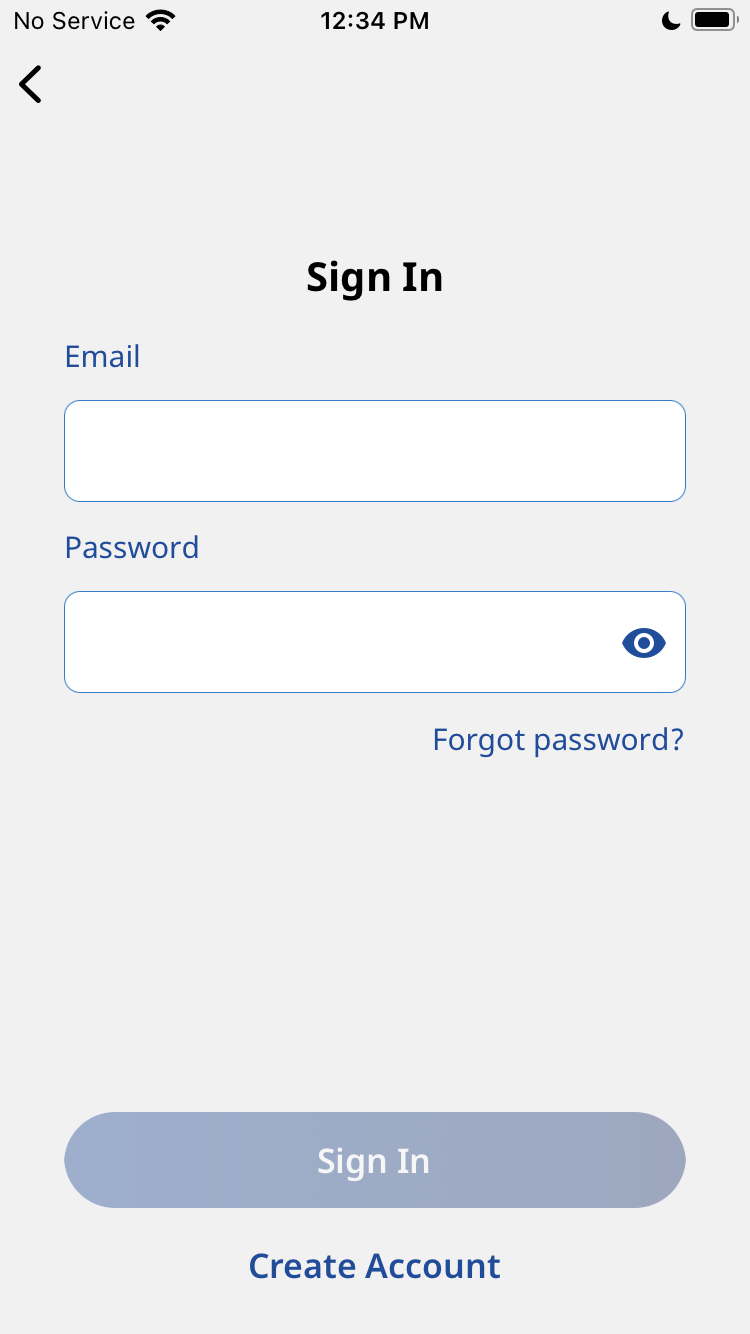
If you already have an ActivForce account, enter your email address and password to sign in. If you don’t remember your password, click on the “Forgot Password?” link.
Home Screen
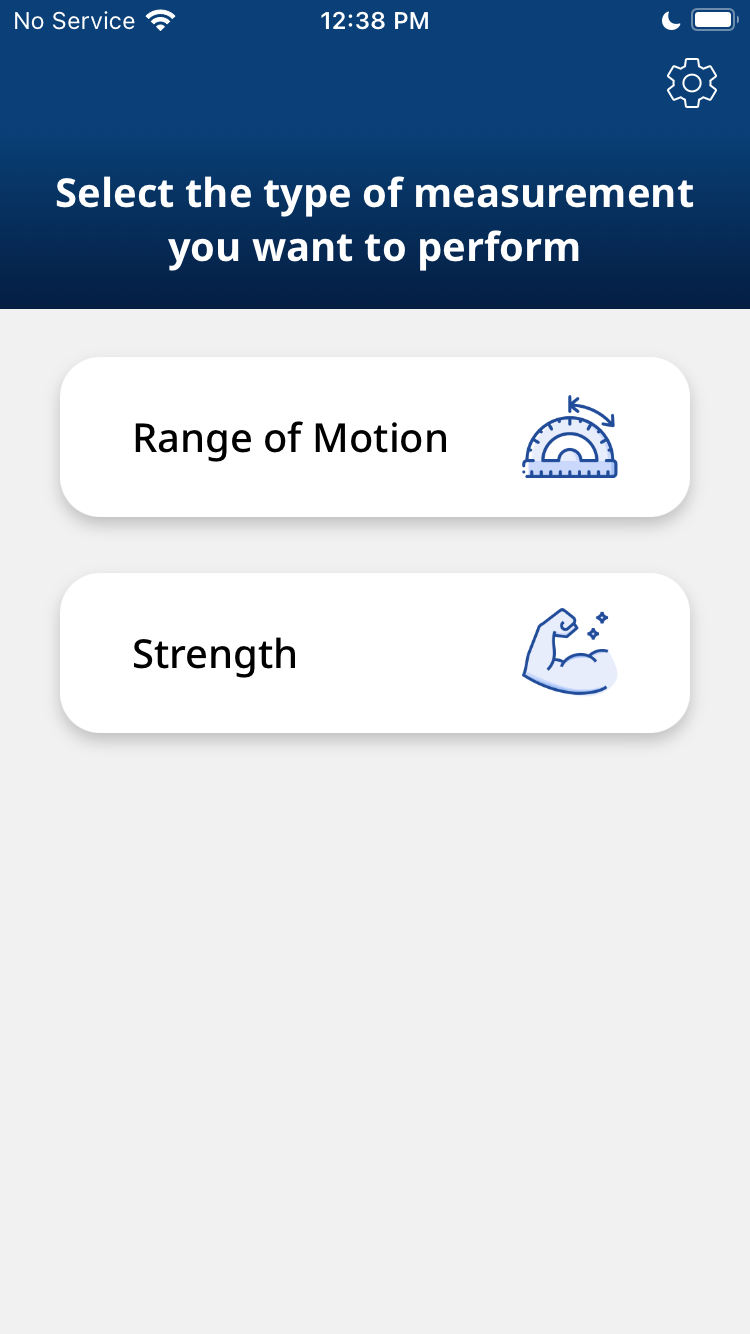
Upon signing in, you will see the ActivForce home screen. Choose the type of measurement you want to perform: Range of Motion or Strength.
Range of Motion Measurements
The ActivForce app can obtain angle measurements in 3D space from a starting position that is established during the calibration phase. Two types of Range of Motion (ROM) measurements can be conducted: Active Range of Motion (AROM) and Passive Range of Motion (PROM).
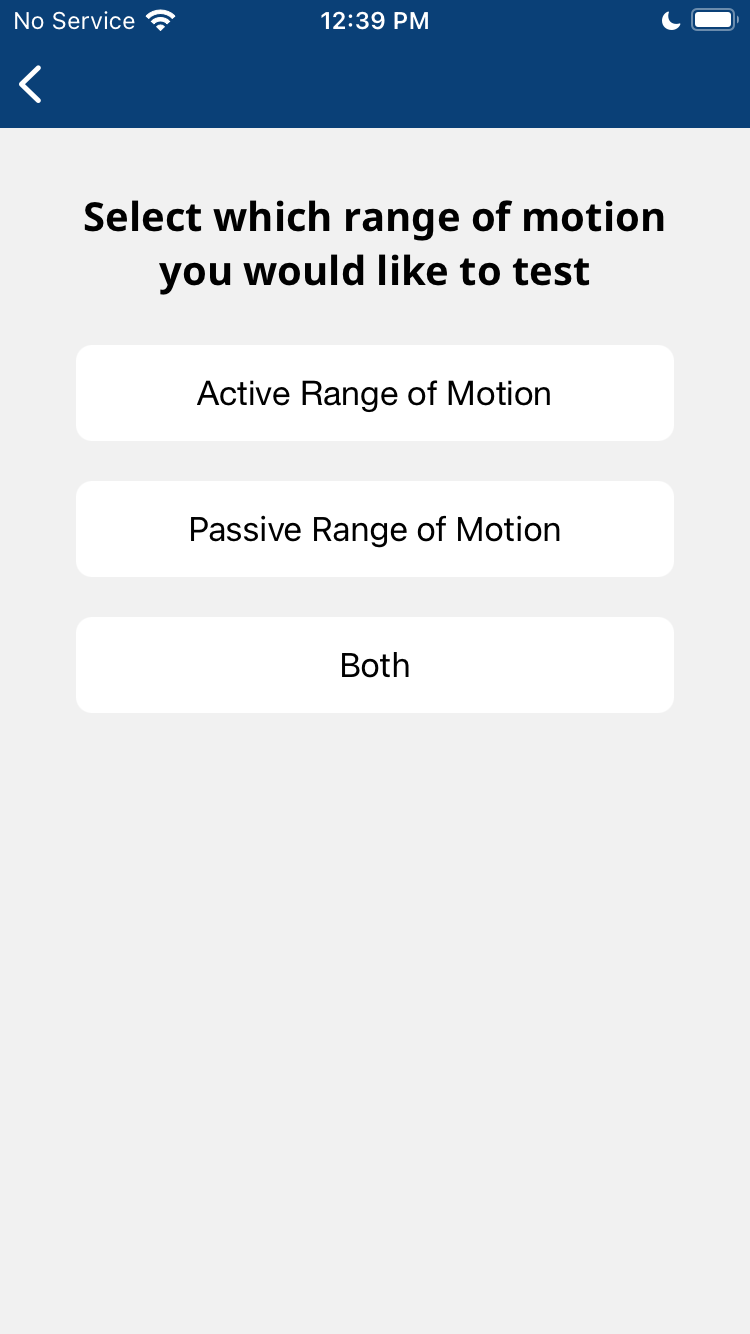
After selecting Range of Motion from the Home Screen, you can choose to perform an “Active Range of Motion” test, “Passive Range of Motion” test or “Both”. Selecting “Both” will perform an AROM test, followed by a PROM test.
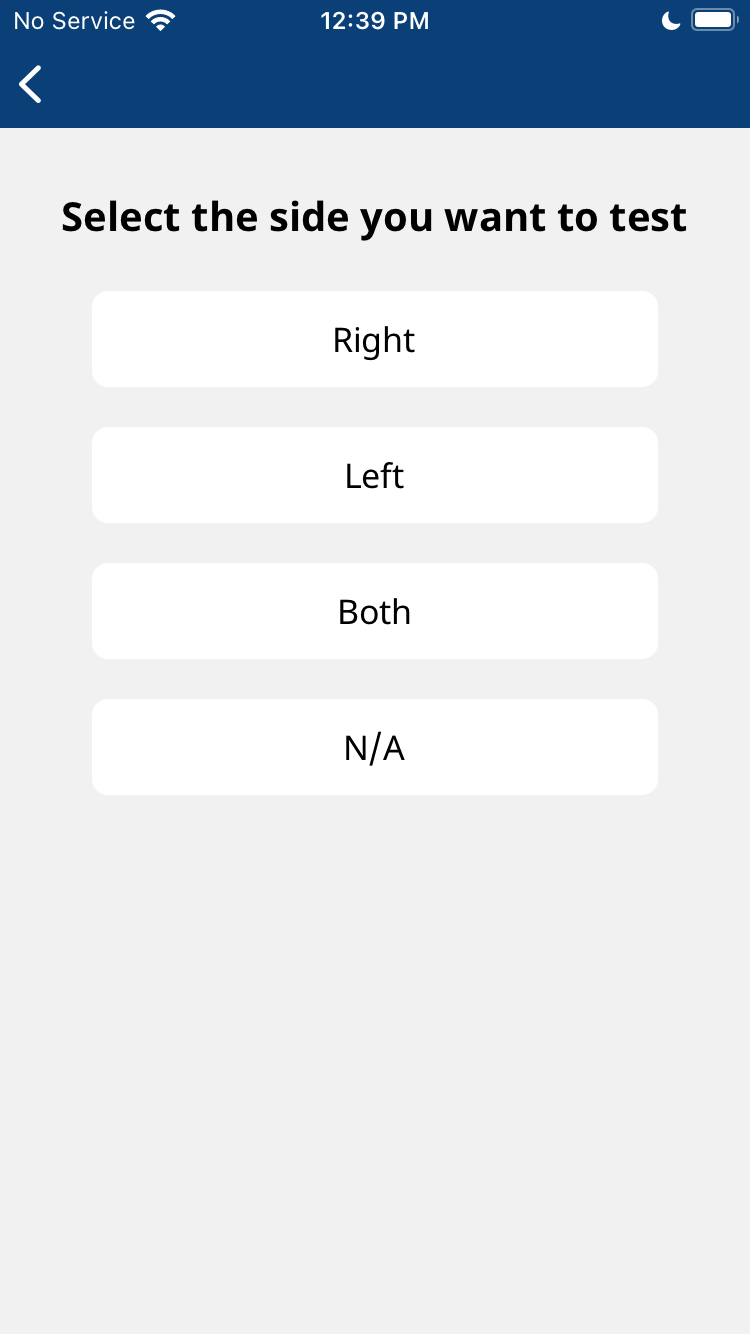
The app allows you to customize your test by selecting which side(s) to test - Right, Left, Both or N/A (if no side is applicable).
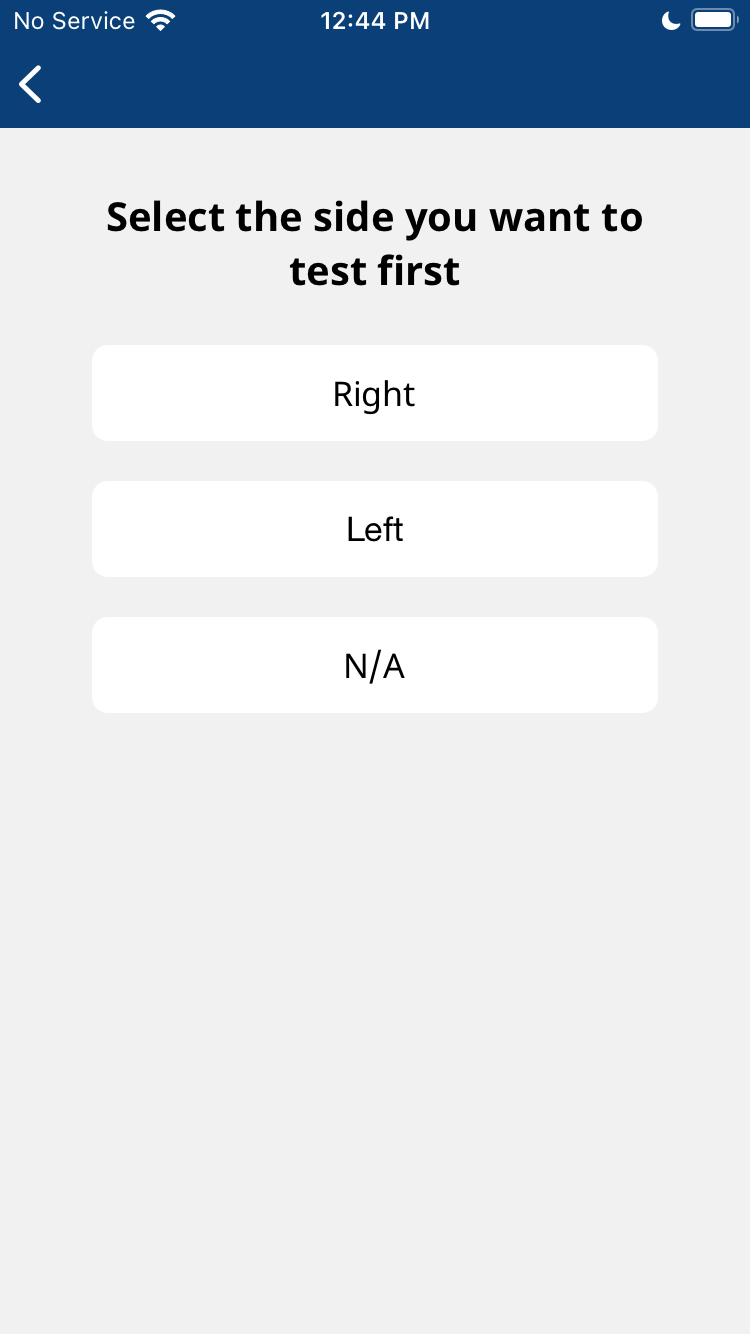
If “Both” is selected, you will be asked to select which side to test first. This selection will be applied to all test types previously selected.
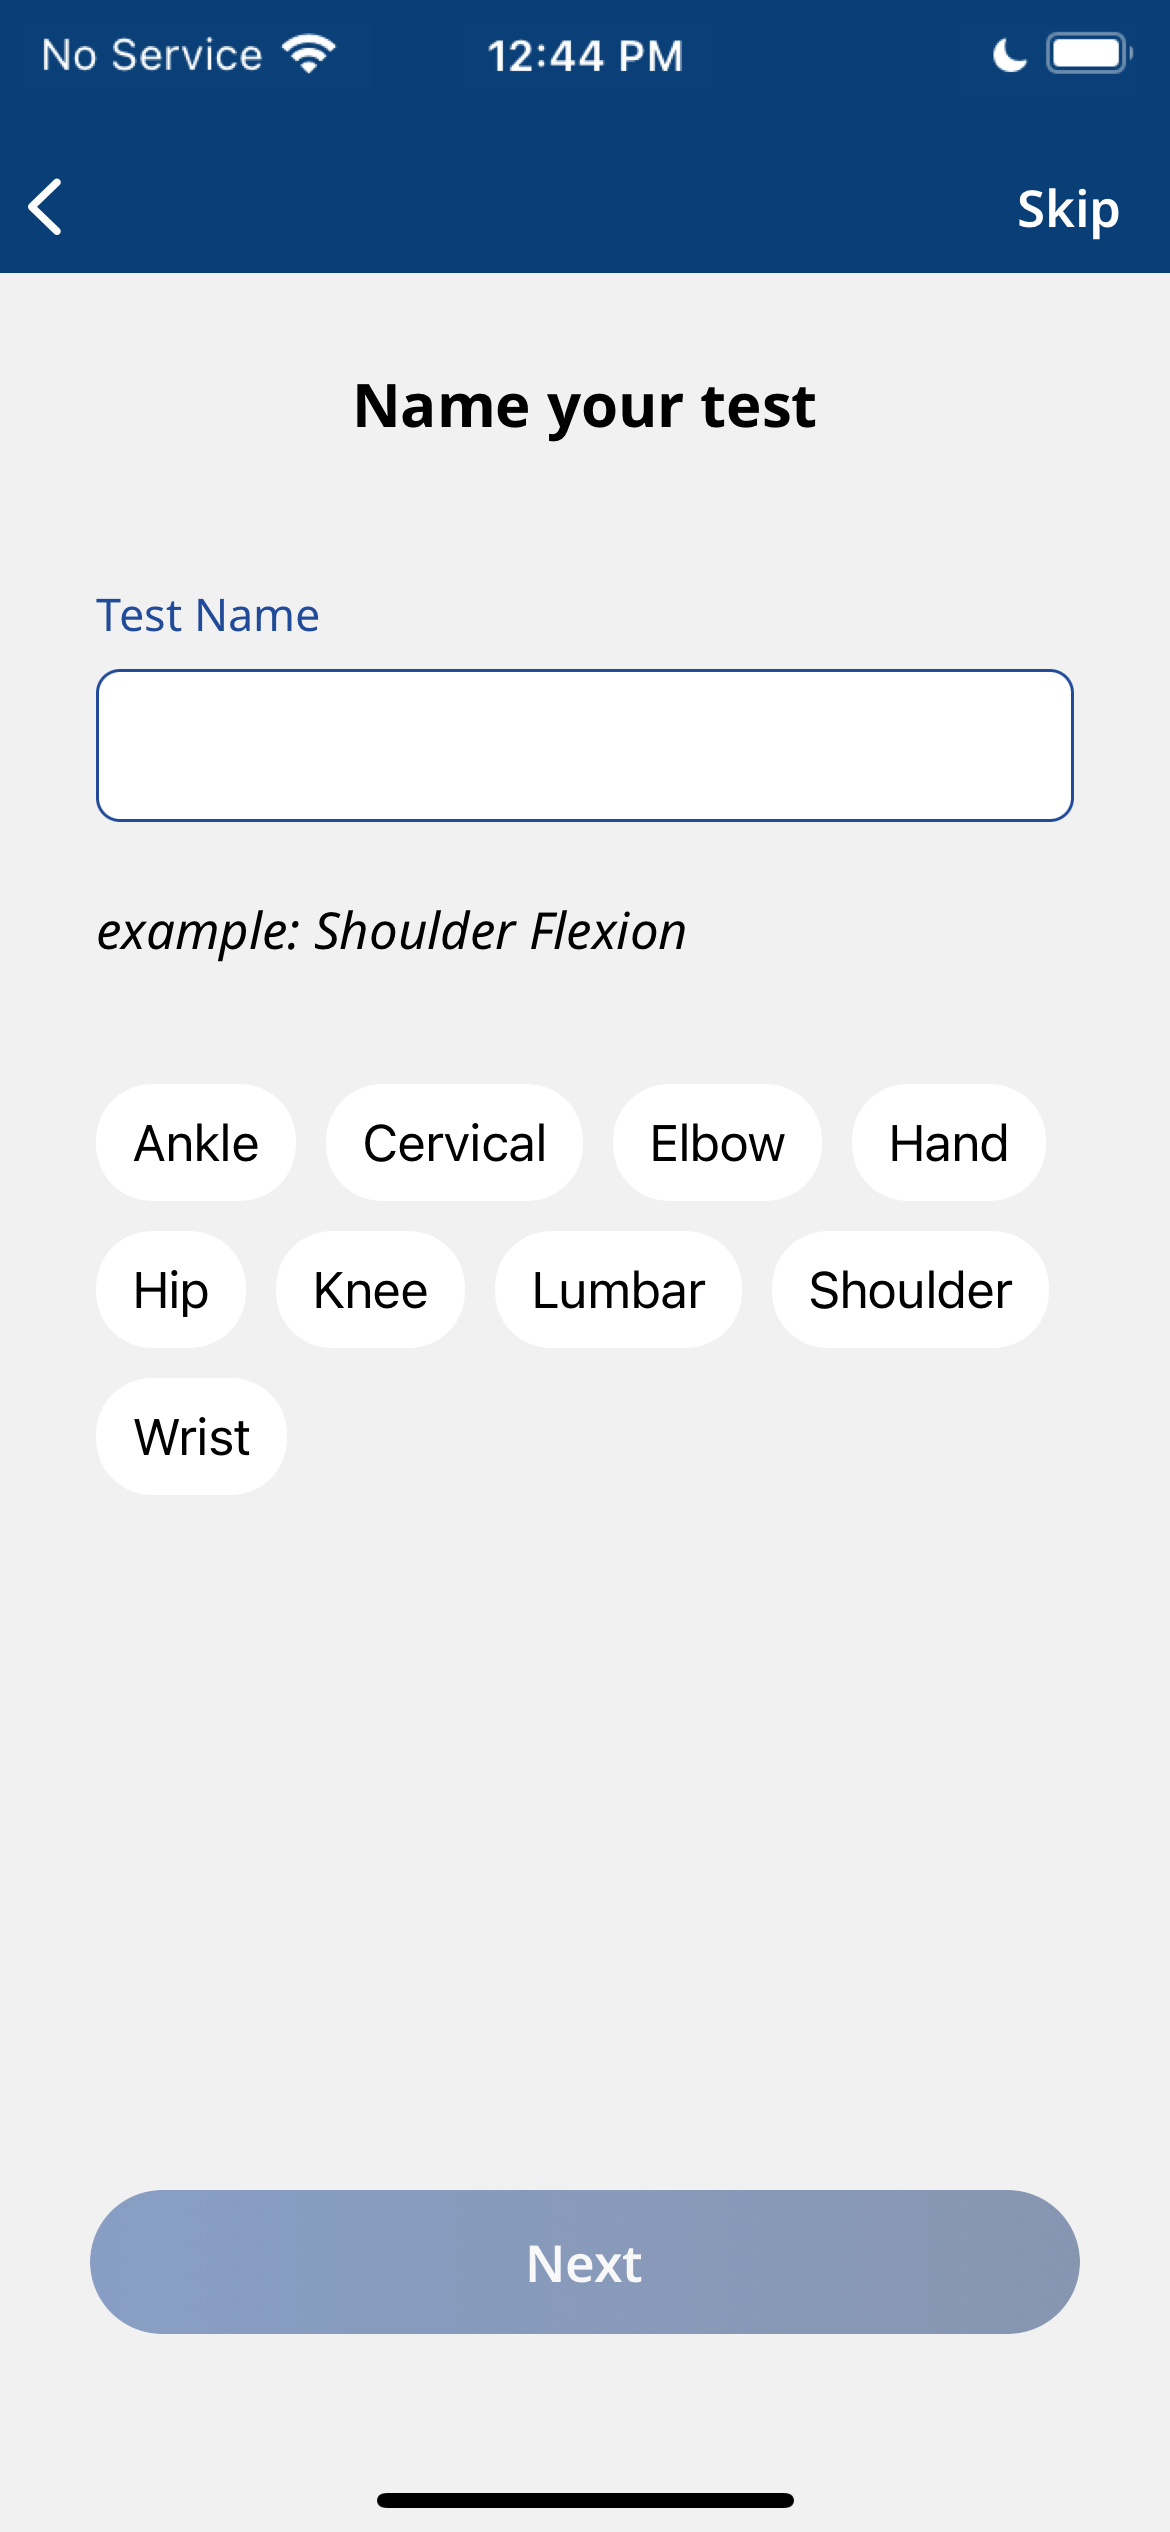
Before the test is started, the test can be named either manually or by selecting suggested joints, movements and positions. The test naming can also be skipped by tapping the “Skip” button at the top right corner.
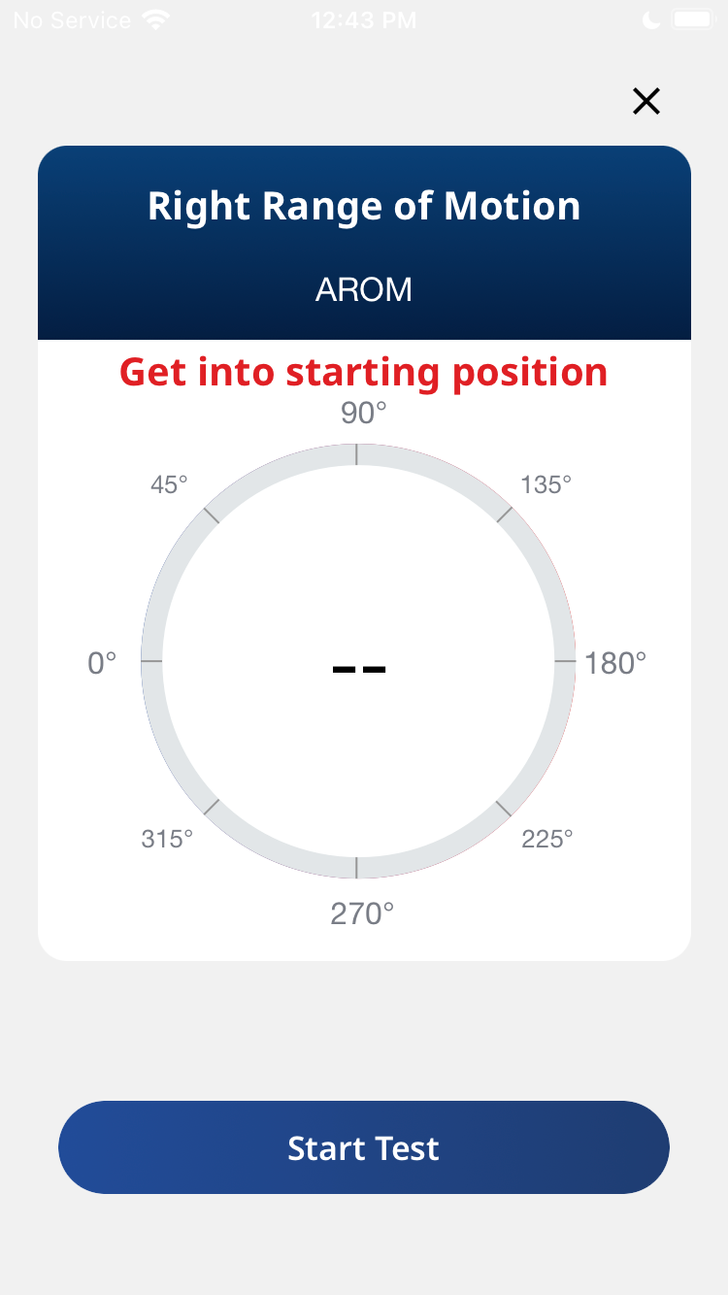
Upon reaching the test screen, you can start the ROM measurement by tapping the “Start Test” button. After pressing the “Start Test” button, a short calibration phase will commence. Do not press or move the device during the calibration phase.

The ActivForce 2 device is capable of measuring angles in any of the three axes, but only one angle, in a single plane of motion, should be measured for each test.
If more types of measurements or sides are selected, the app will display instructions to prepare for the next test in the sequence (Switch the side or Continue with the position). After the measurement is concluded, tap the “End Test” button.
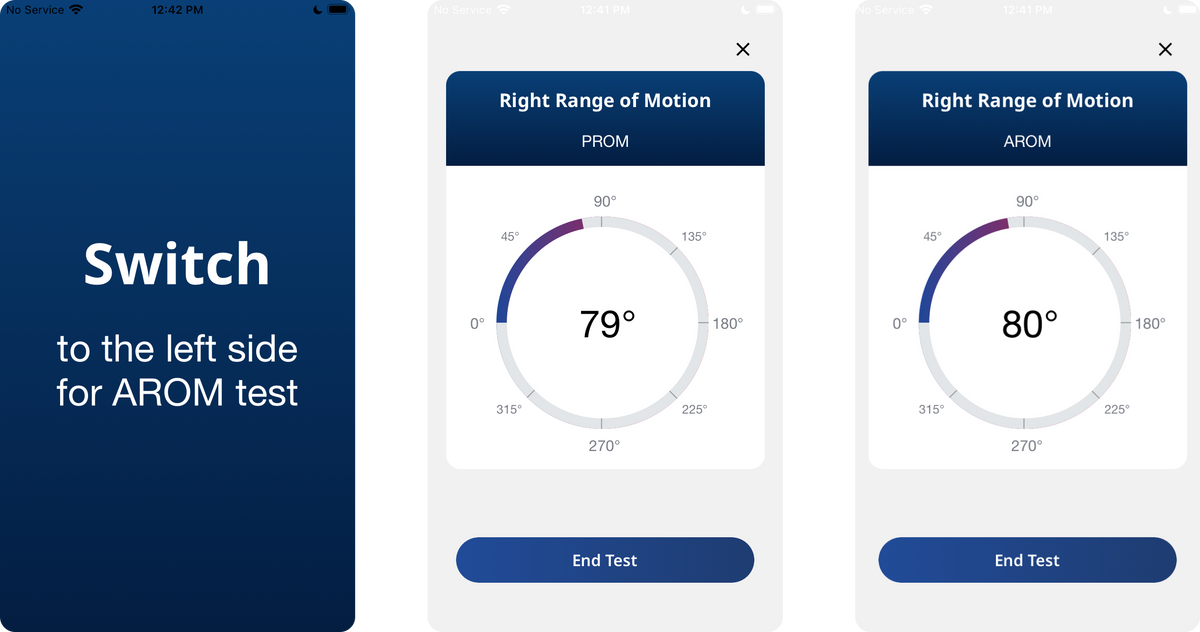
Once the “End Test” button is pressed, you have two options: to either see the test results by tapping on the “View Summary” button or to perform the last measurement again by tapping “Redo Test”, which will discard the previous result and restart the measurement process.
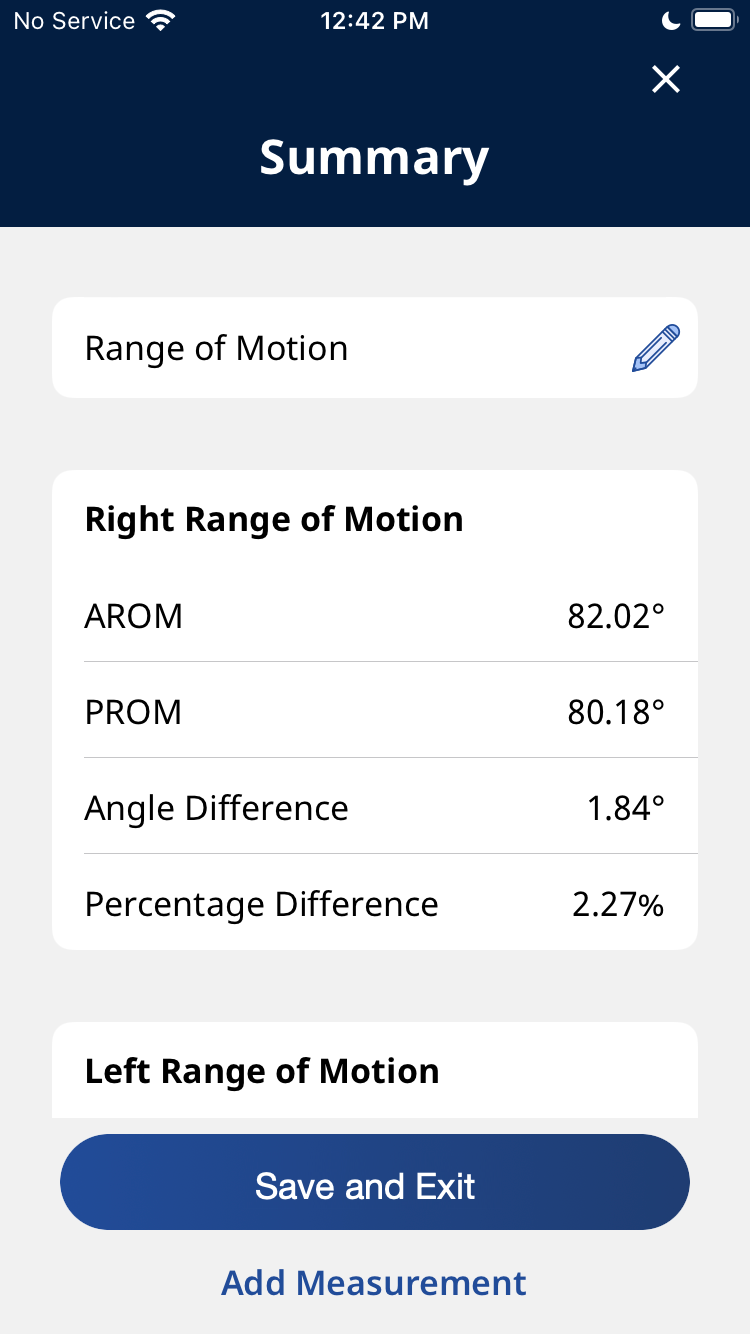
Tapping the “Save and Exit” button will save the report to the signed-in account to be accessed from the ActivForce Dashboard.
Tapping the “X” close button will not save the report and it will not be accessible from this account’s ActivForce Dashboard.
Strength Measurements
To perform a strength test, select the “Strength” button on the home screen.

On the first screen, select which side to test first - Right, Left or N/A (if no side is applicable).

Before the test is started, the test can be named either manually or by selecting suggested joints, movements and positions. The test naming can also be skipped by tapping the “Skip” button at the top right corner.
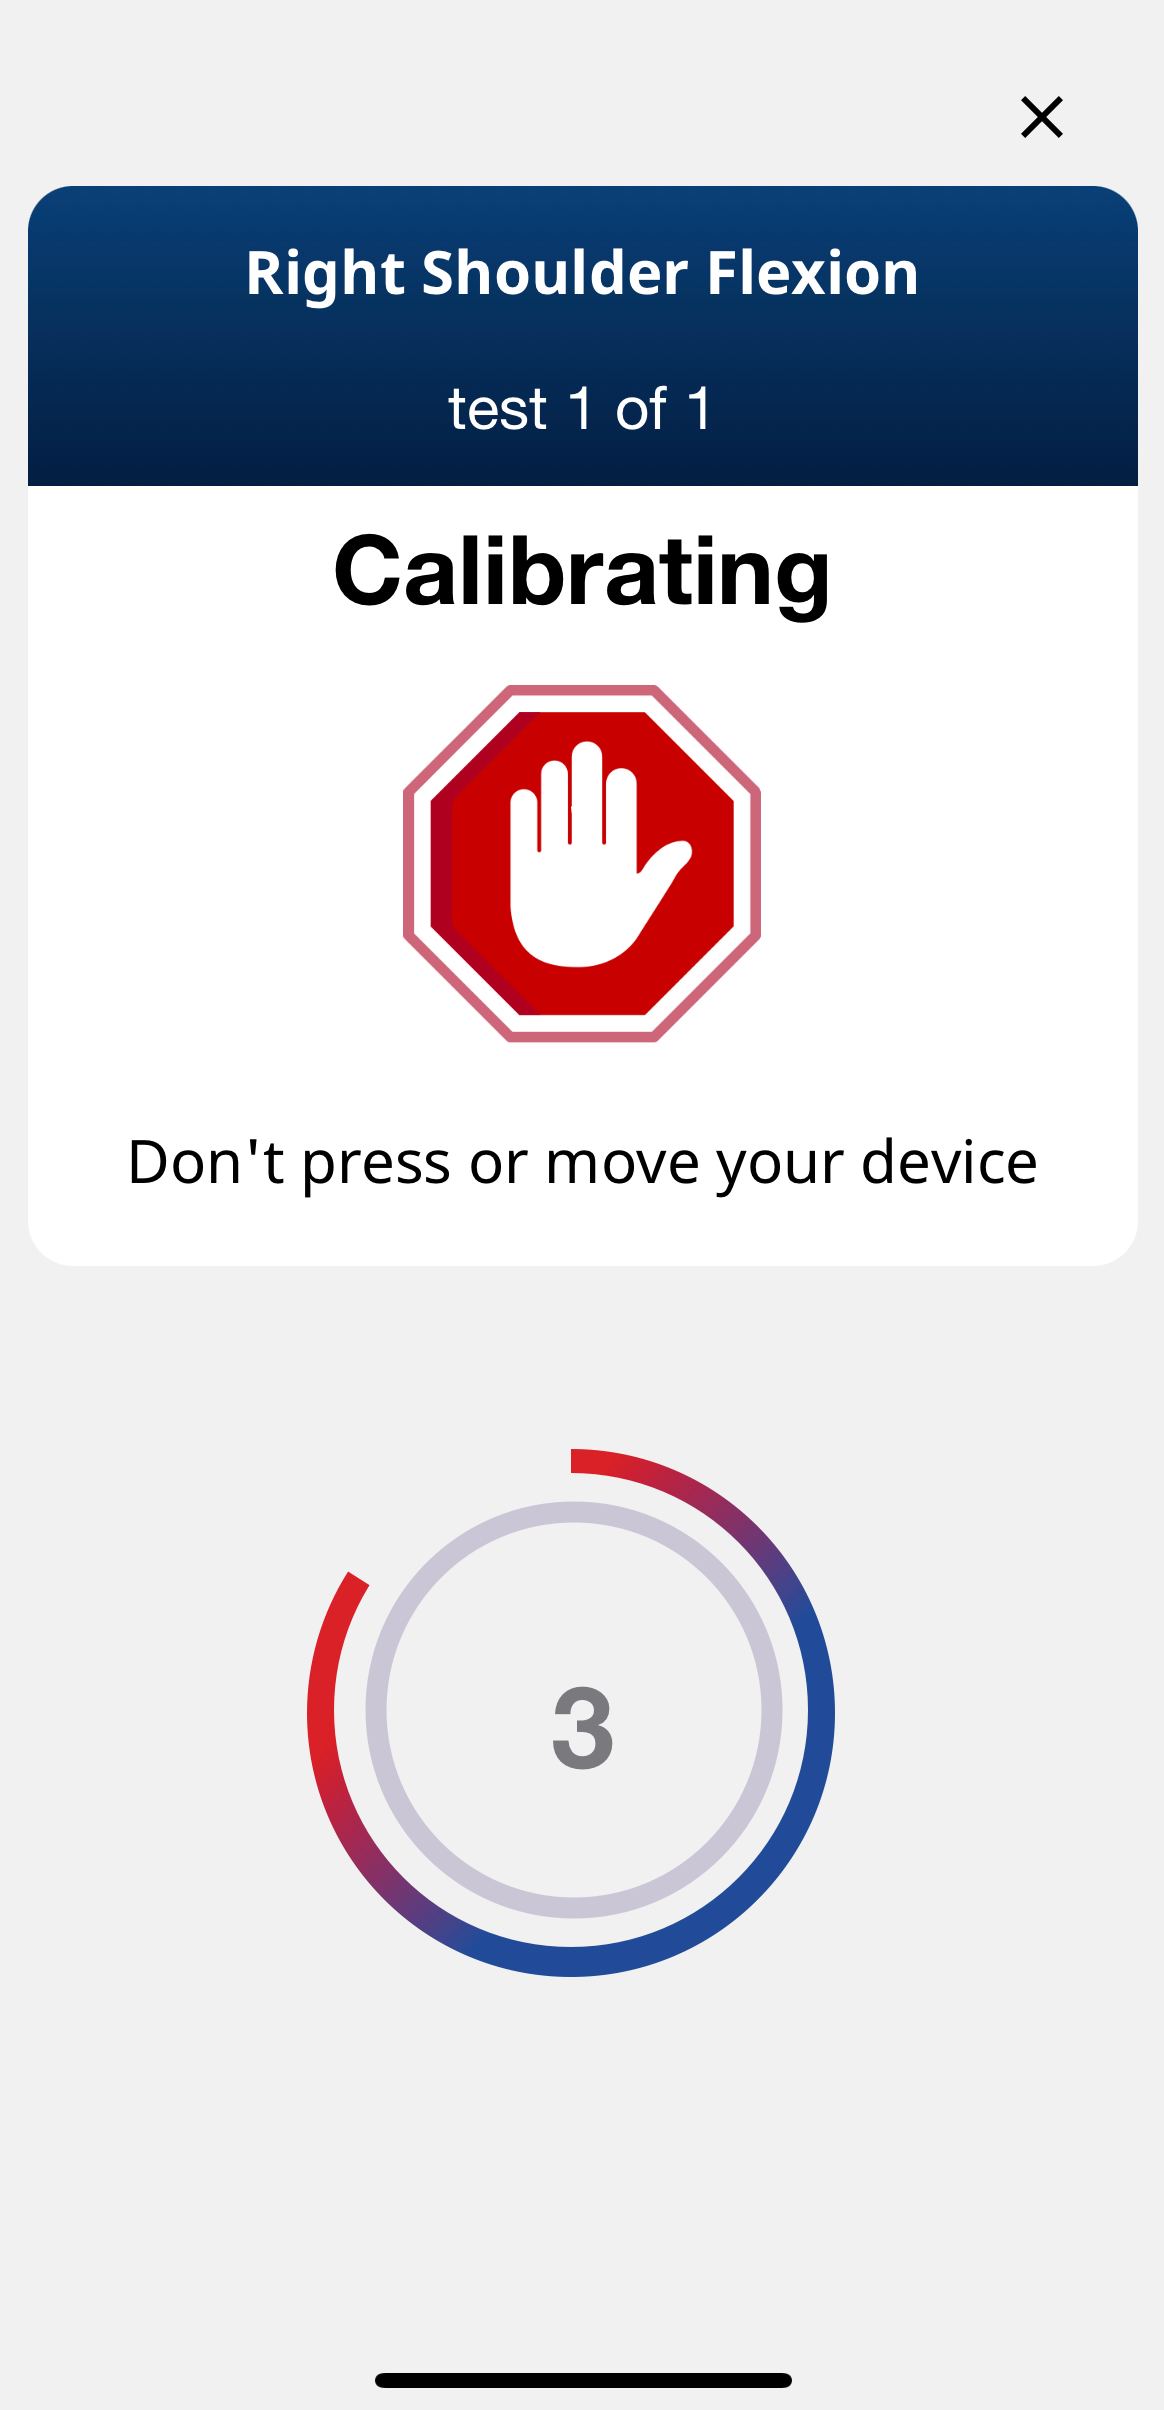
Once you reach the test screen, you can start the Strength measurement by tapping the “Start” button. A three-second calibration phase will commence. Do not press or move the device during calibration.
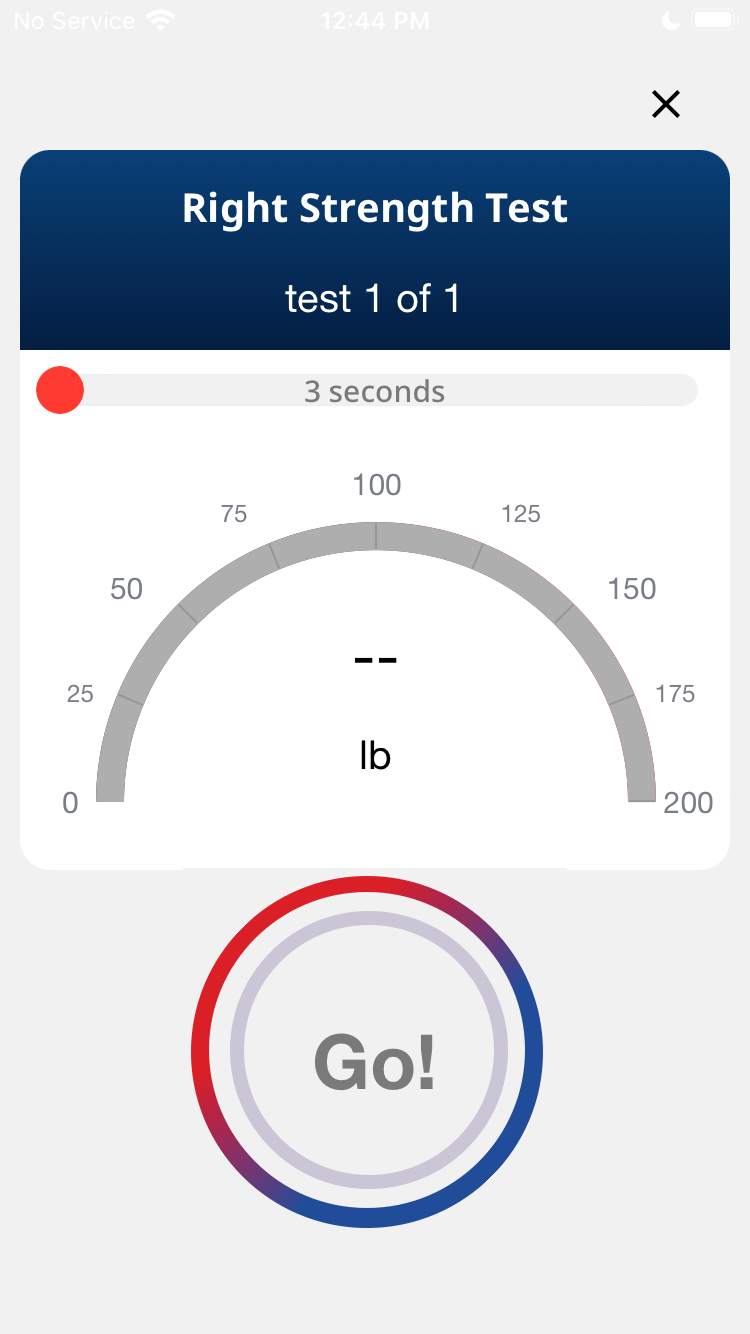
After calibration, a “Go!” label will be shown, indicating that the test can be started by applying force to the device.
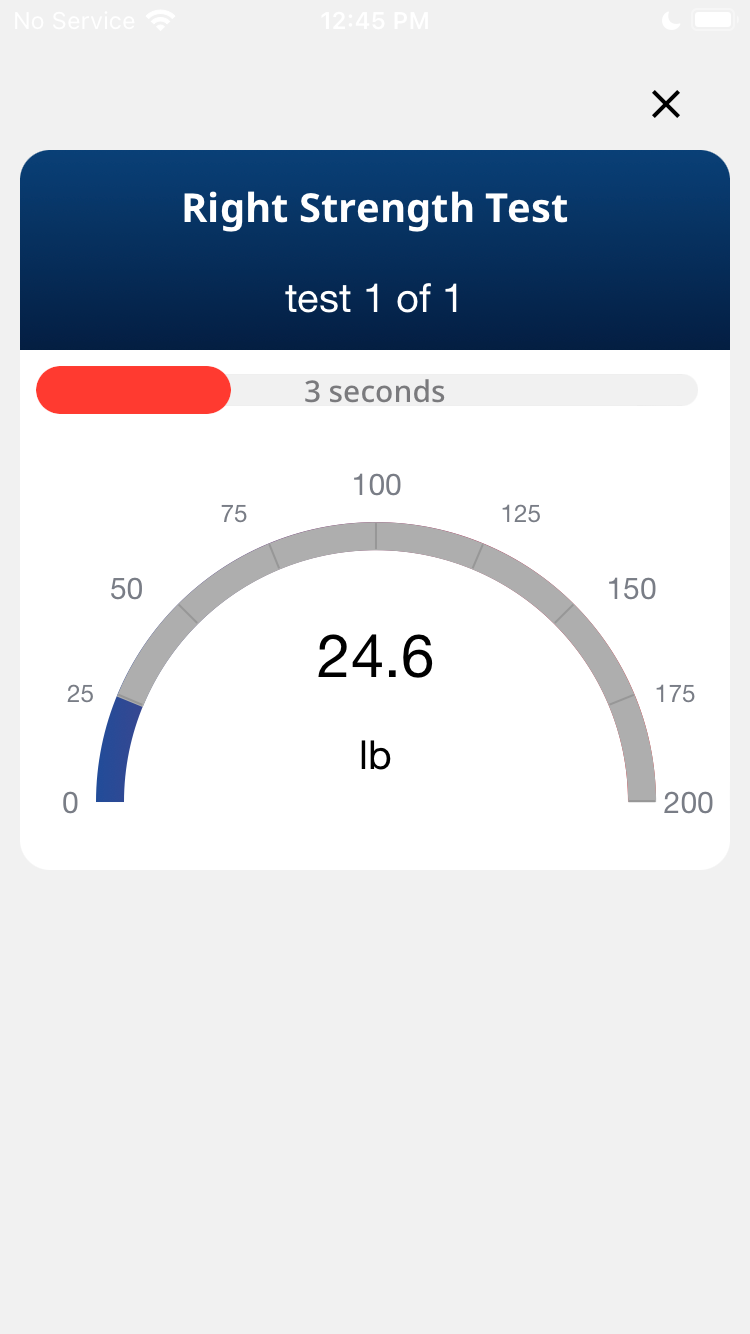
Once the test is started, force applied to the device will be displayed in the app.
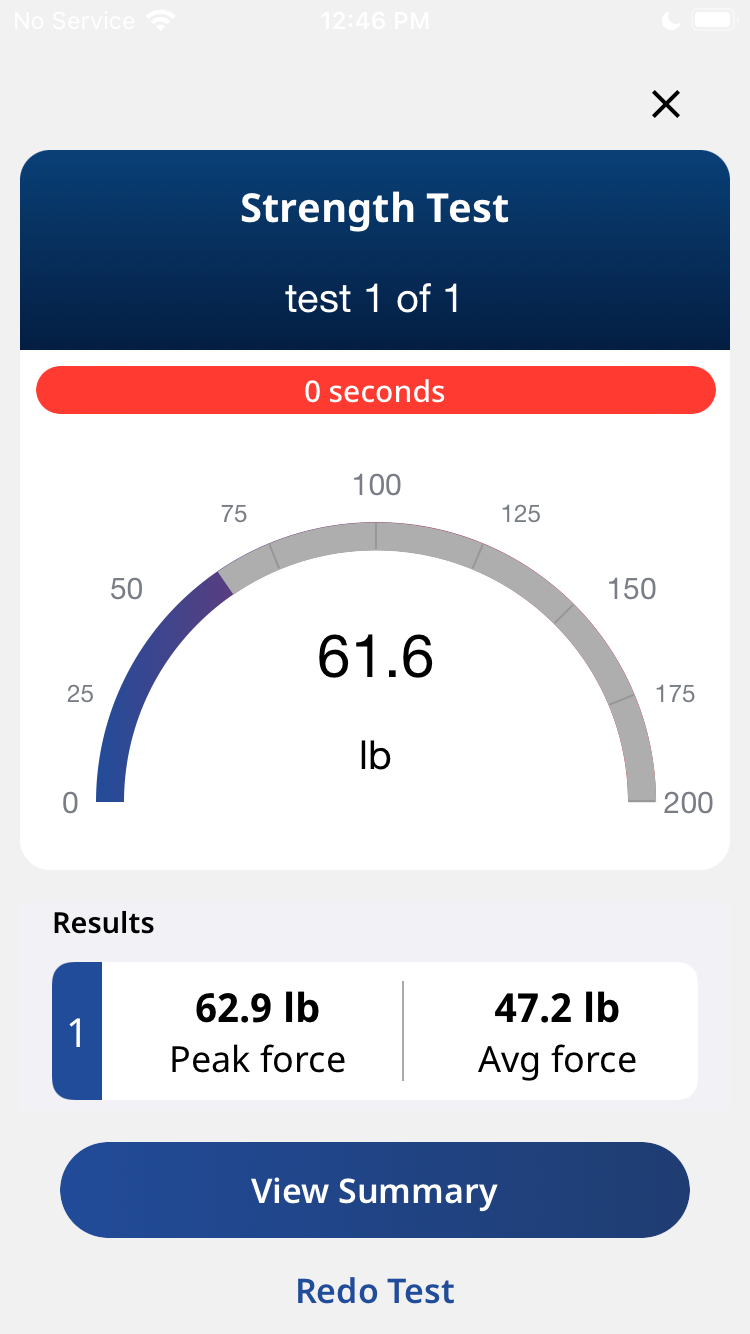
The duration of the test depends on the predefined settings set in the “Settings” screen (defaulted to six seconds). After the test is completed, the app will present a choice: continue with the test and switch to the next side by tapping “Next Side” or perform the measurement again by tapping “Redo Test” which will discard the previous result and restart the measurement process.

When the “Next Side” button is pressed, the app will display instructions to prepare for the next test and side in the sequence (Switch the side).
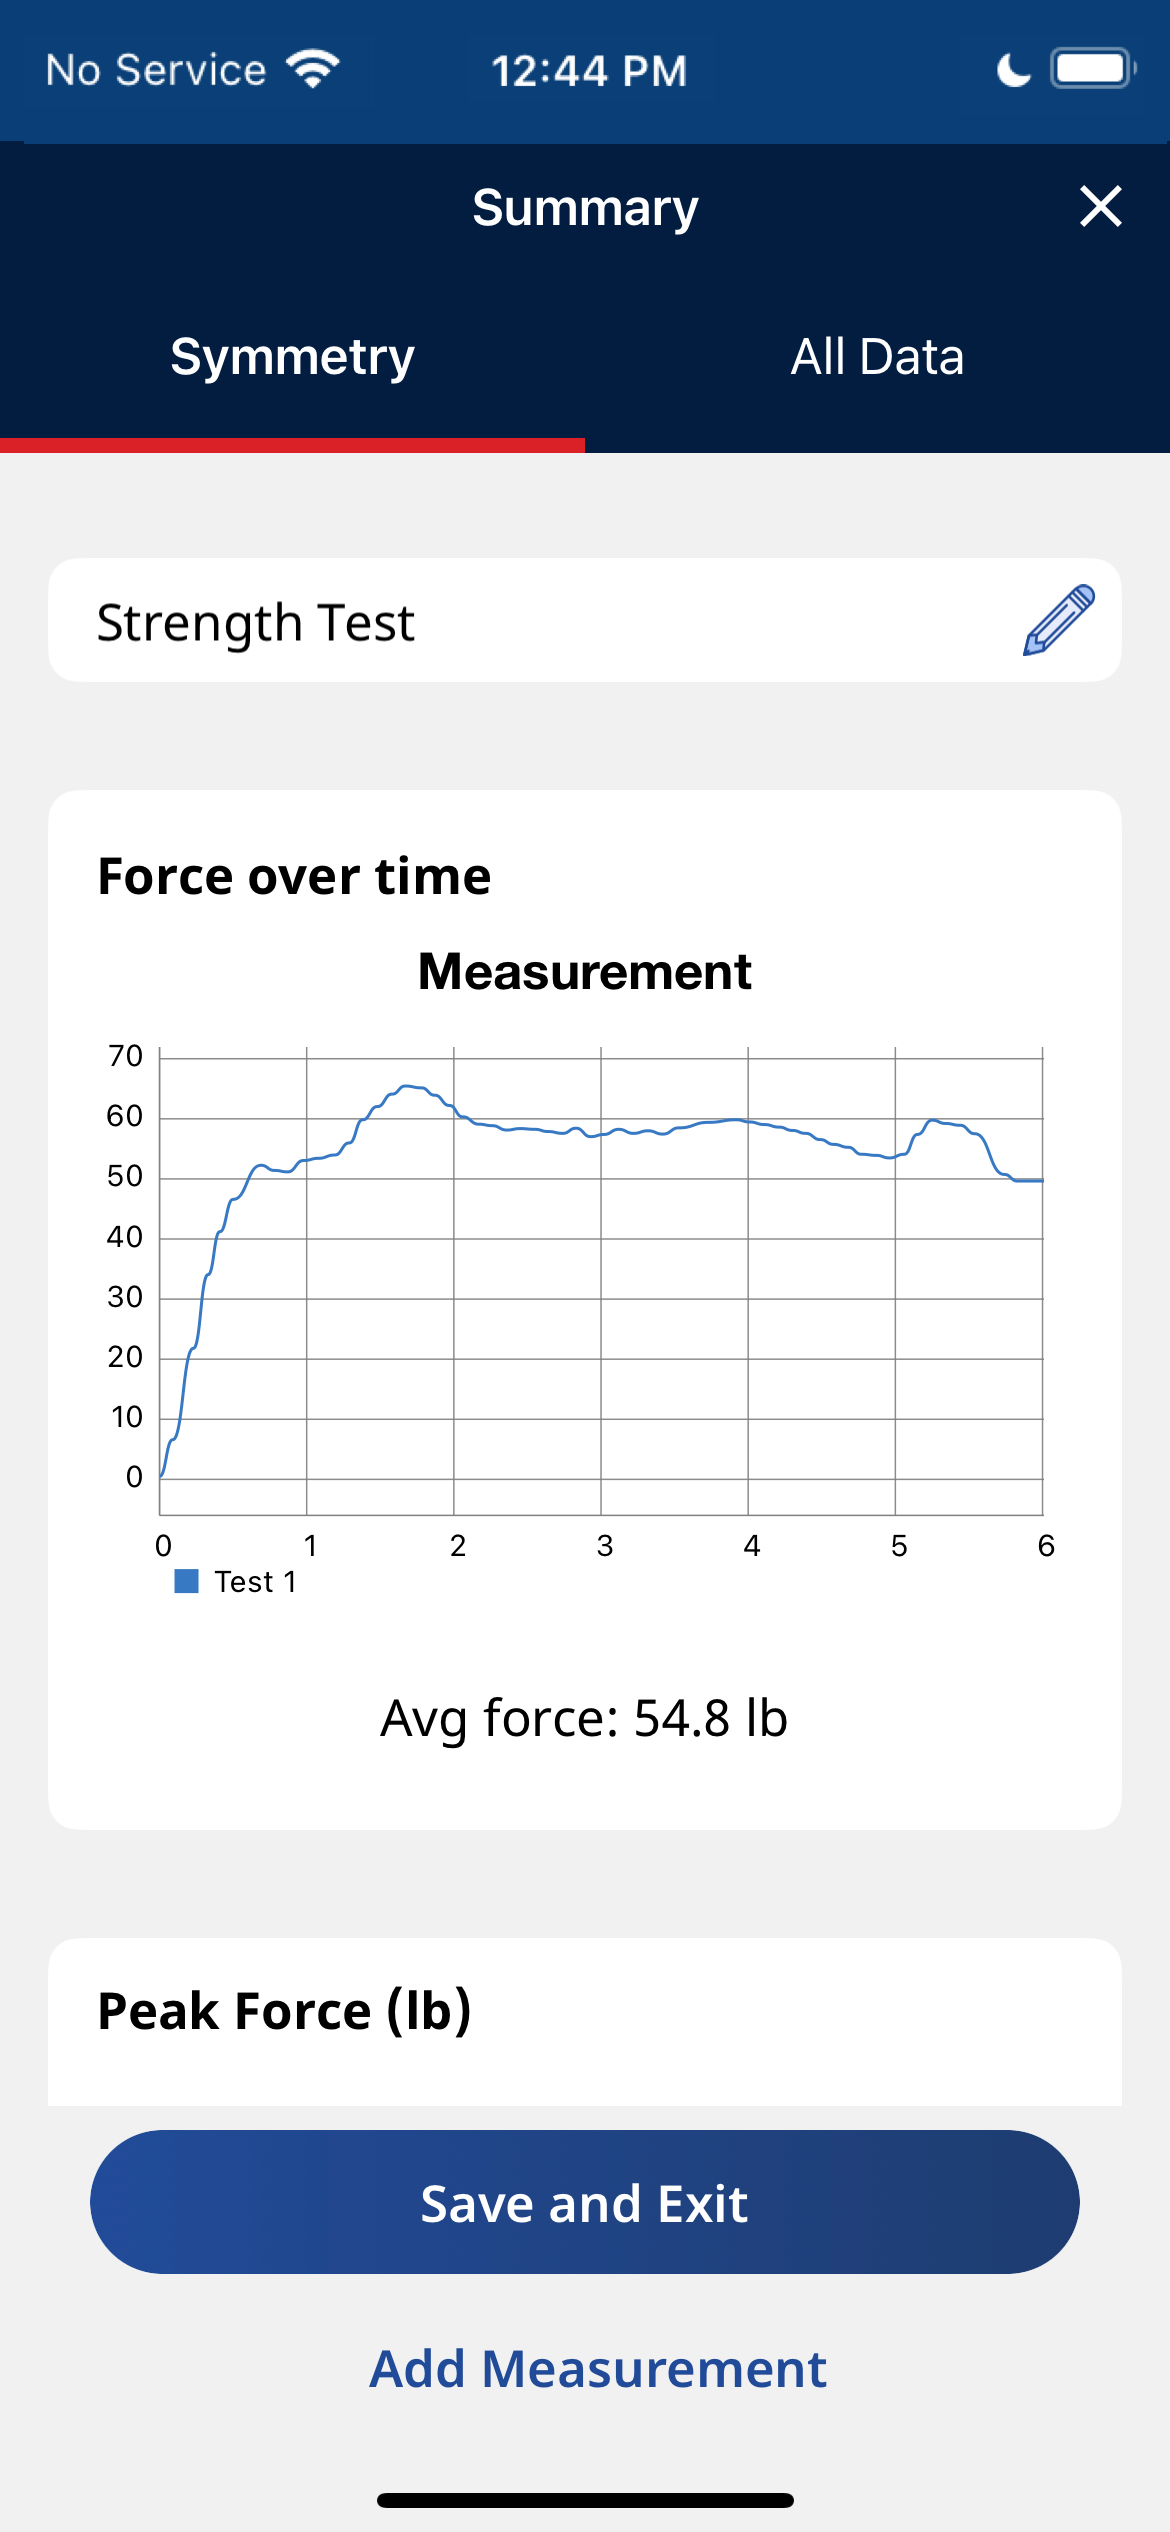
After the strength test has been completed, a Summary screen with graphs and data showing Force over time, Peak Force and Force to Weight Ratio will be displayed. From the Summary screen, the strength test data can be saved to the Activforce dashboard, or another measurement can be added.
Settings screen
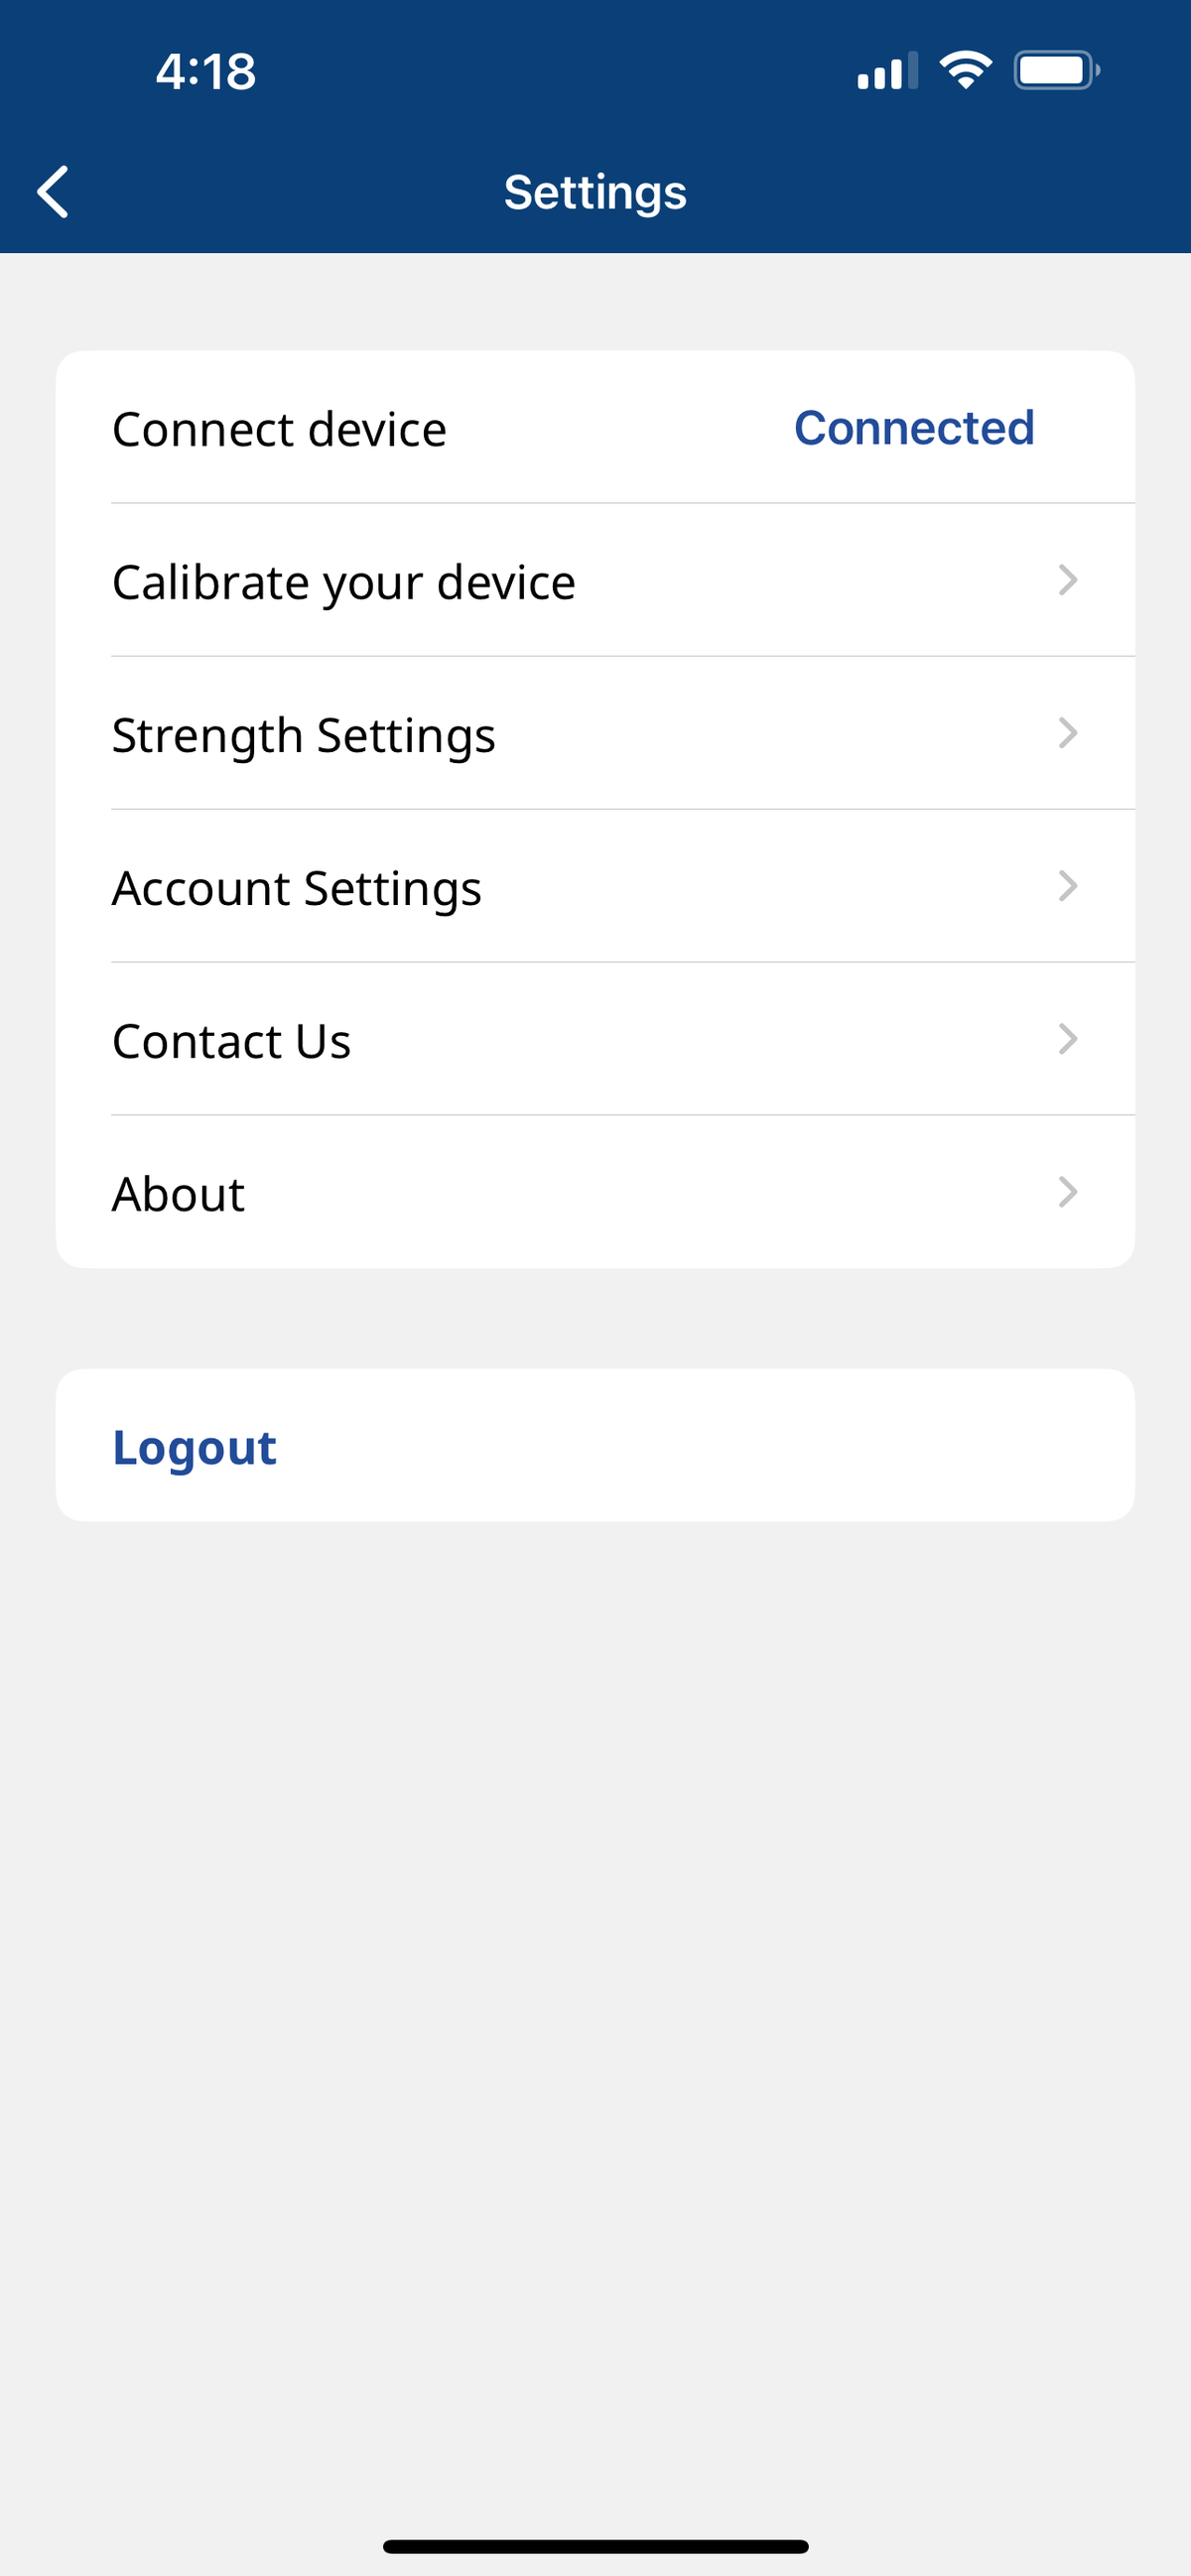
The "Settings" screen enables you to:
- Connect and calibrate devices
- Adjust strength settings
- Manage account details
- Contact customer support
- Log out
- Access other functions
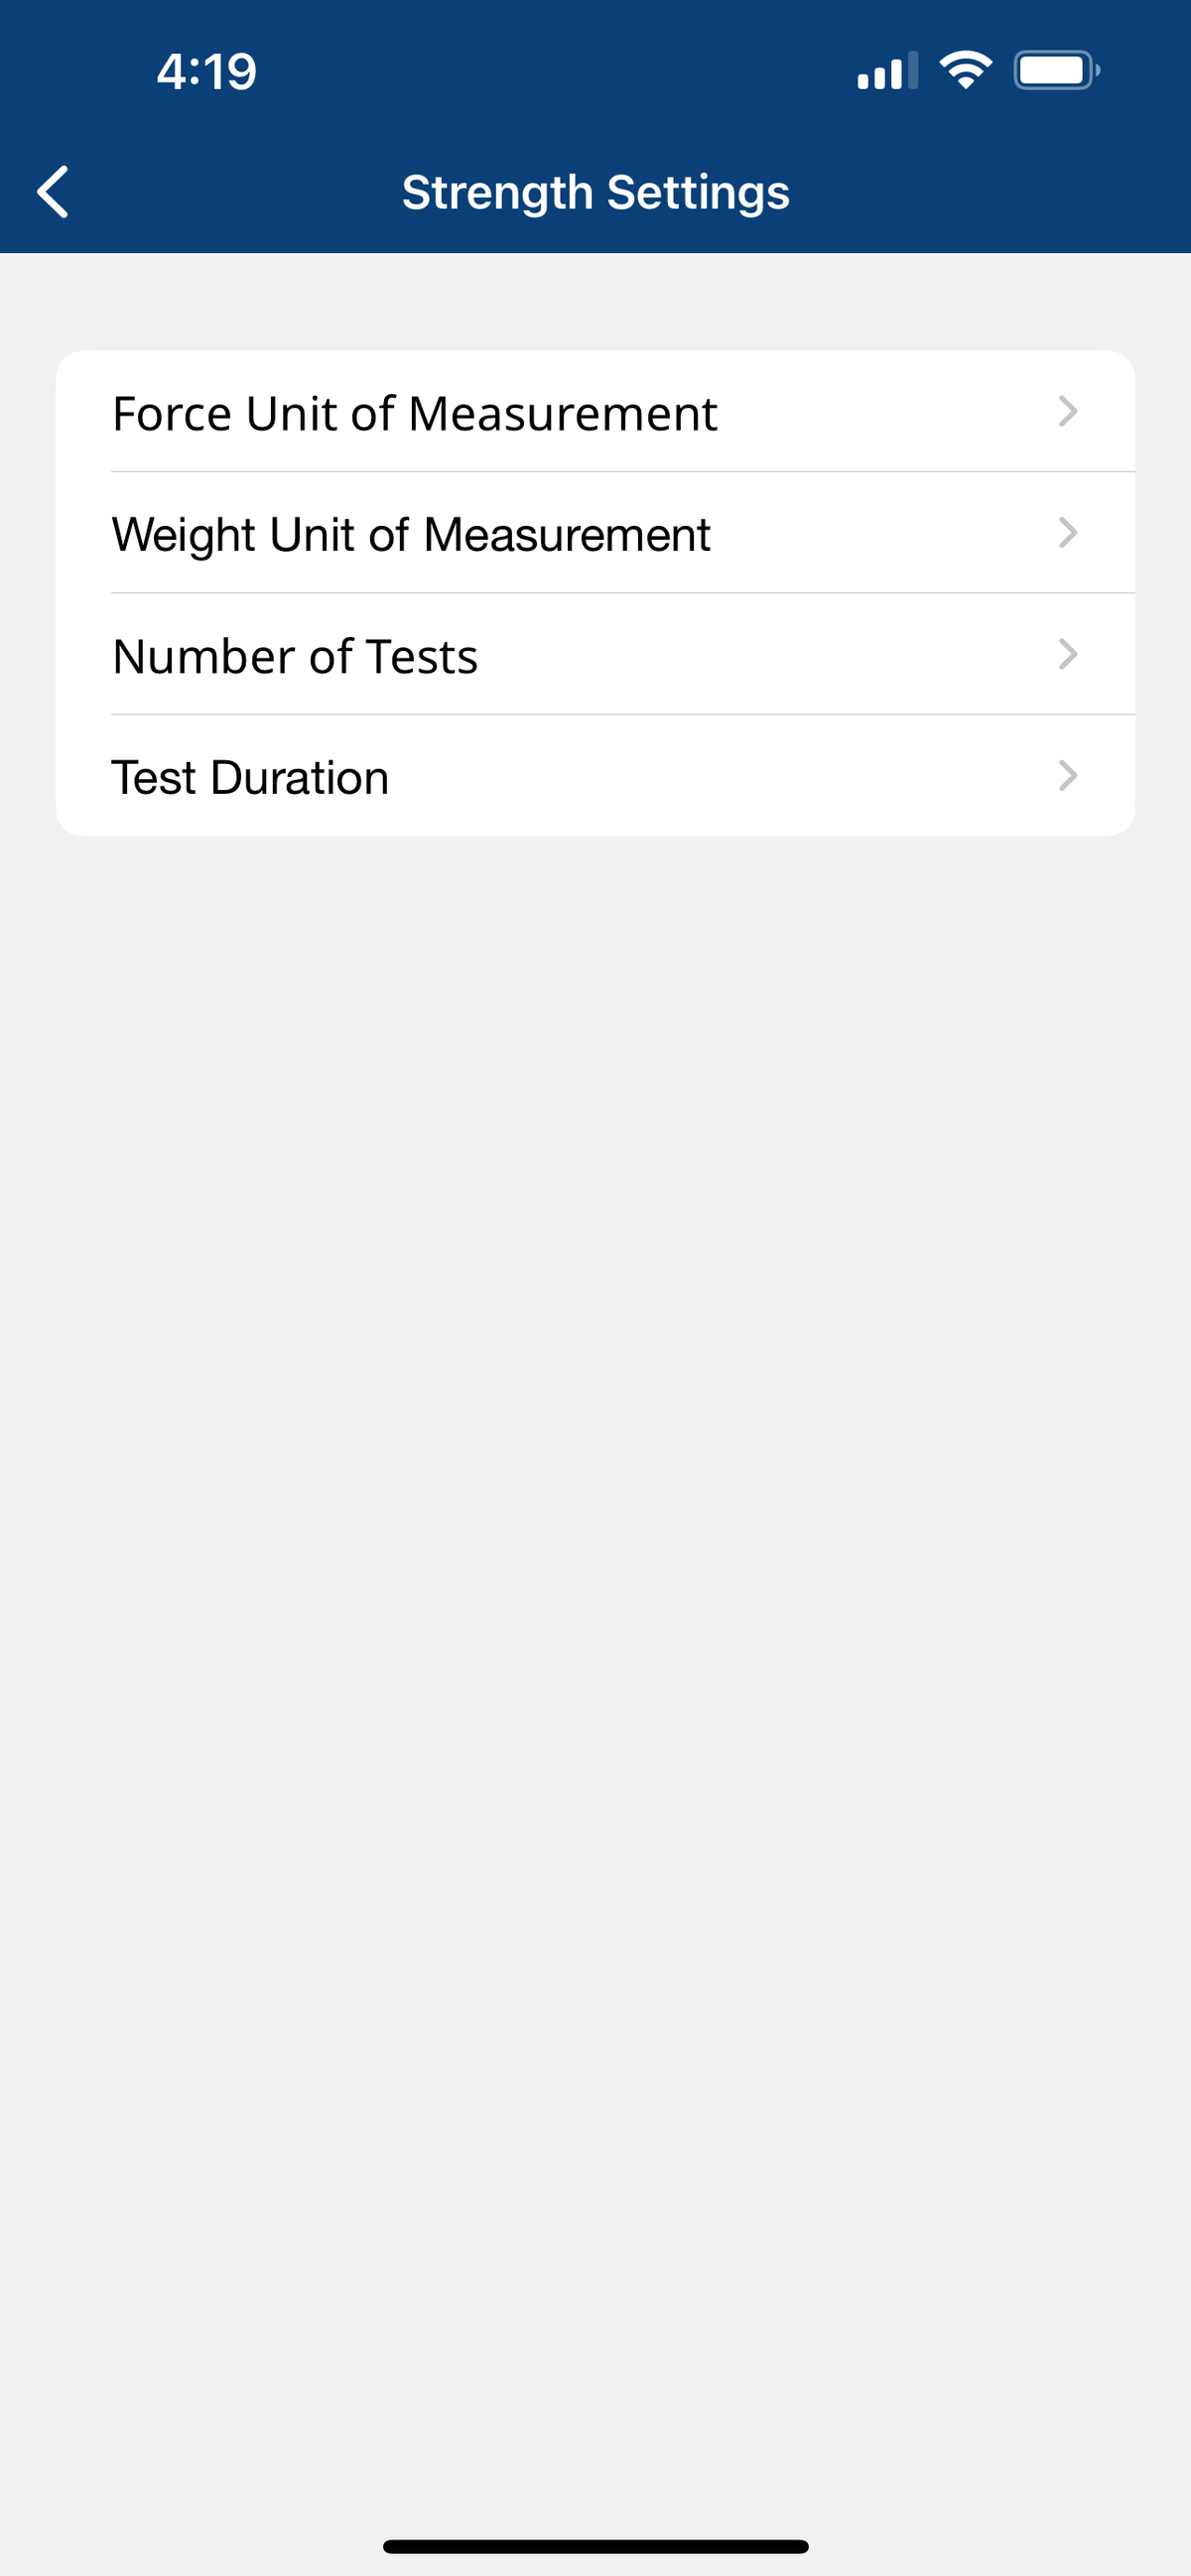
The Strength Settings can be customized in four different ways - Force Unit of Measurement, Weight Unit of Measurement, Number of Tests and Test Duration.
- Force Unit of Measurement - Changing the unit of measurement affects the units displayed in the application. You can select between Imperial, Metric and Newton units.
- Weight Unit of Measurement - Changing the weight unit of measurement affects the units displayed during the calculation for Force to Weight percentage. You can select between Imperial and Metric units.
- Number of Tests - This setting allows you to set the number of measurements for each test. You can choose between one and three tests per side.
- Test Duration - This setting allows you to choose the duration of the strength test. You can choose between three and sixty seconds.
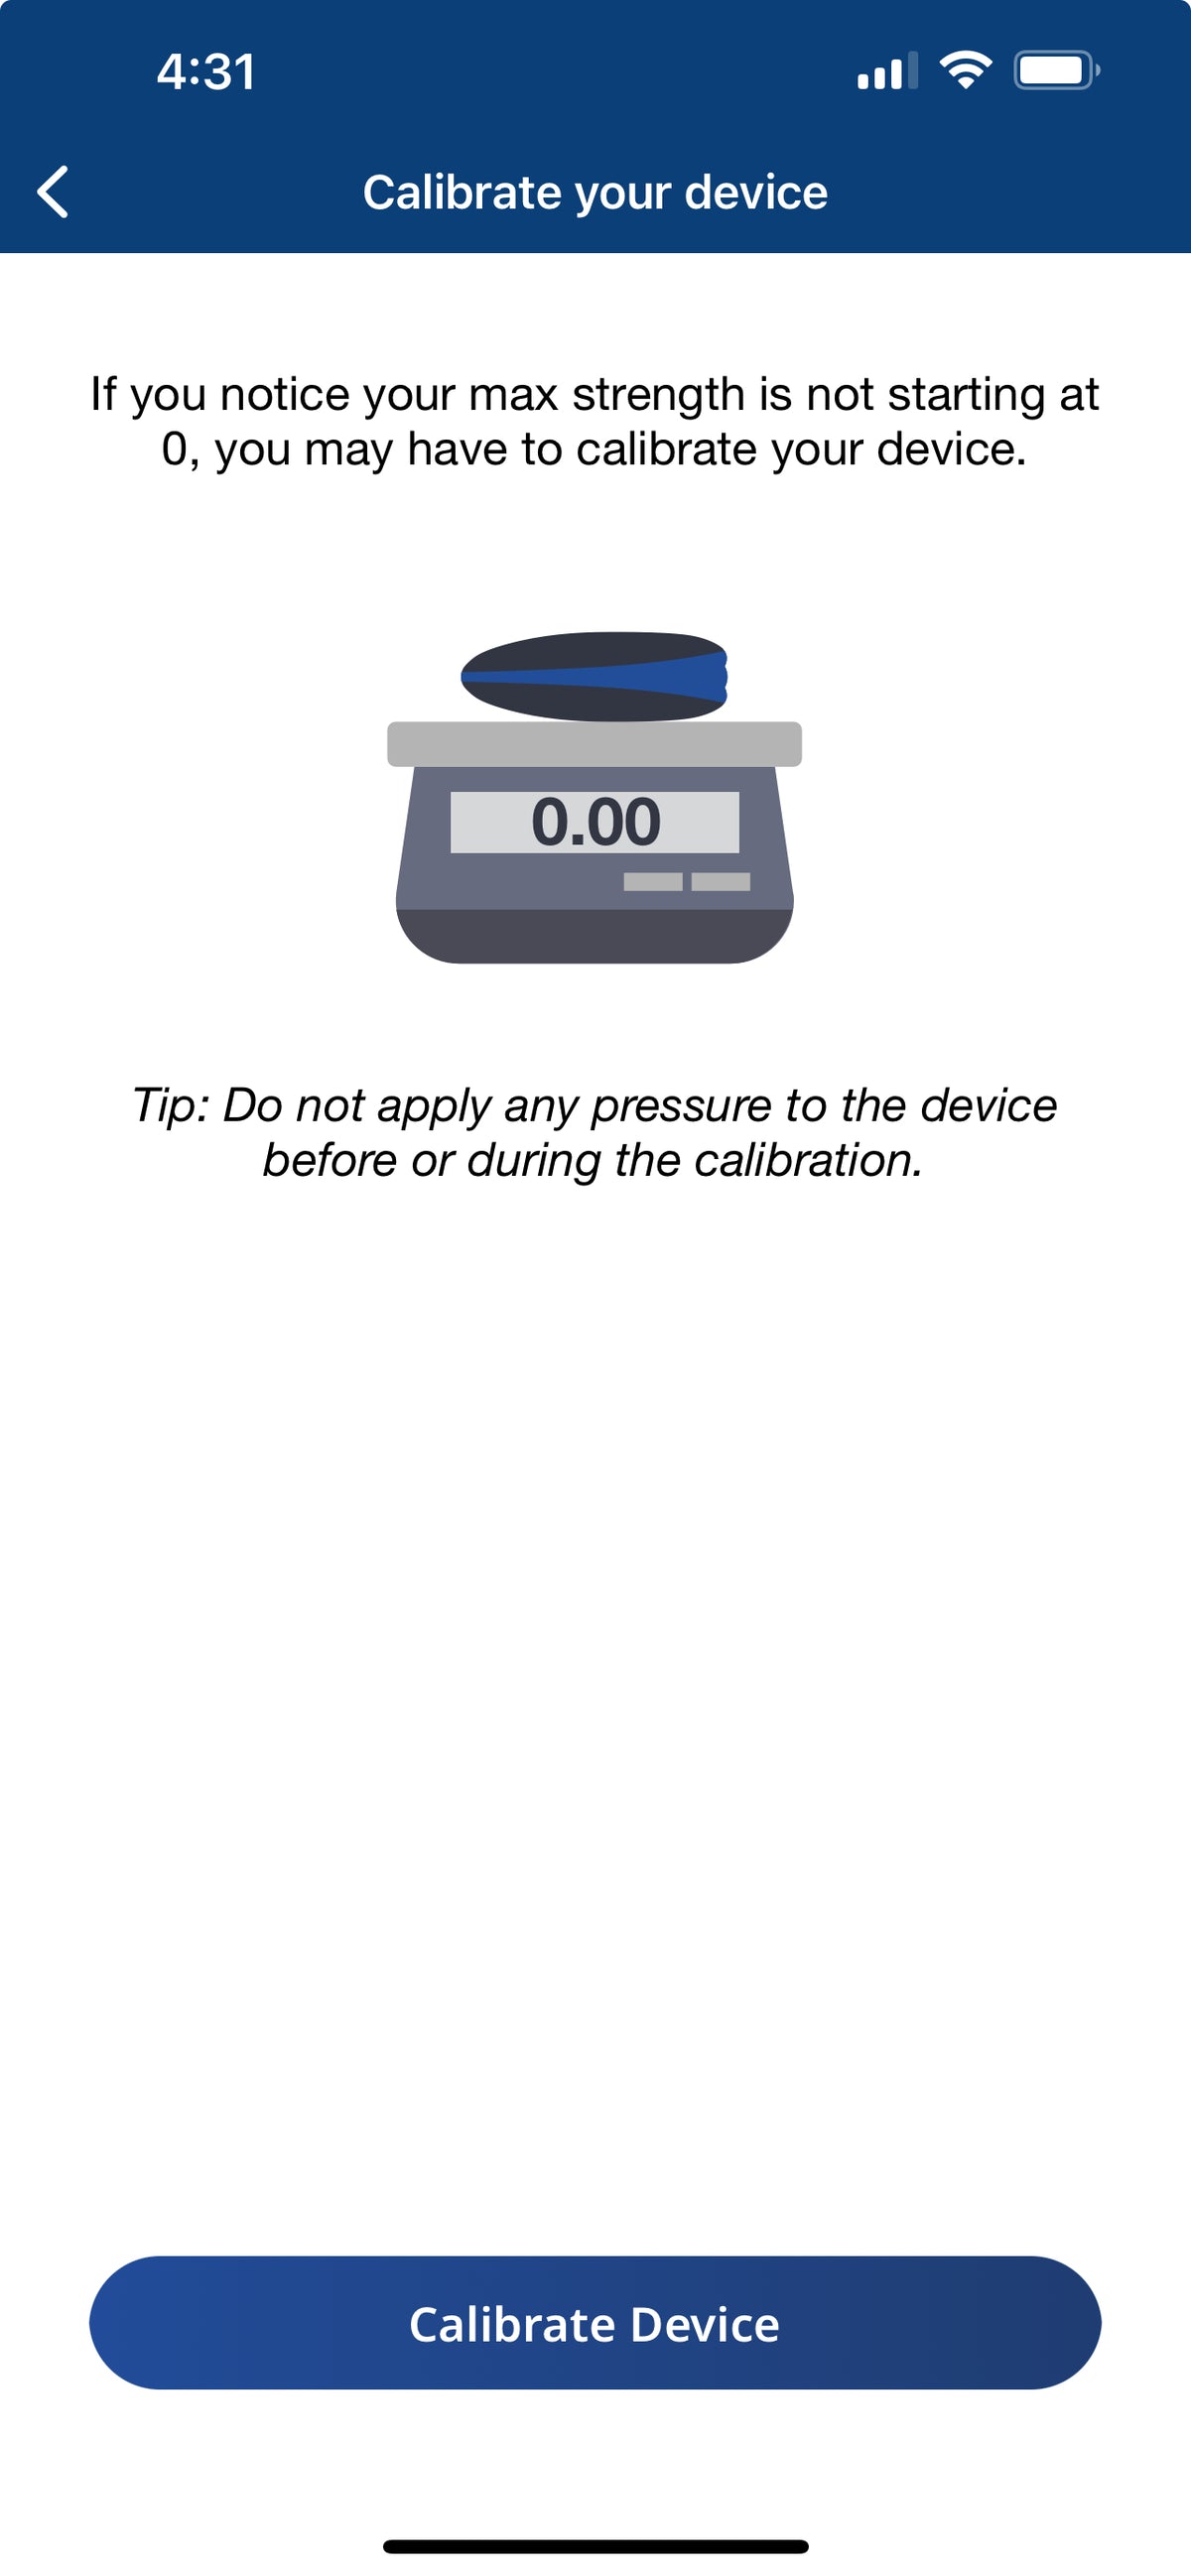
To tare your device and ensure that the Strength test measurement starts from zero, tap the “Calibrate your device” button and follow the instructions displayed.
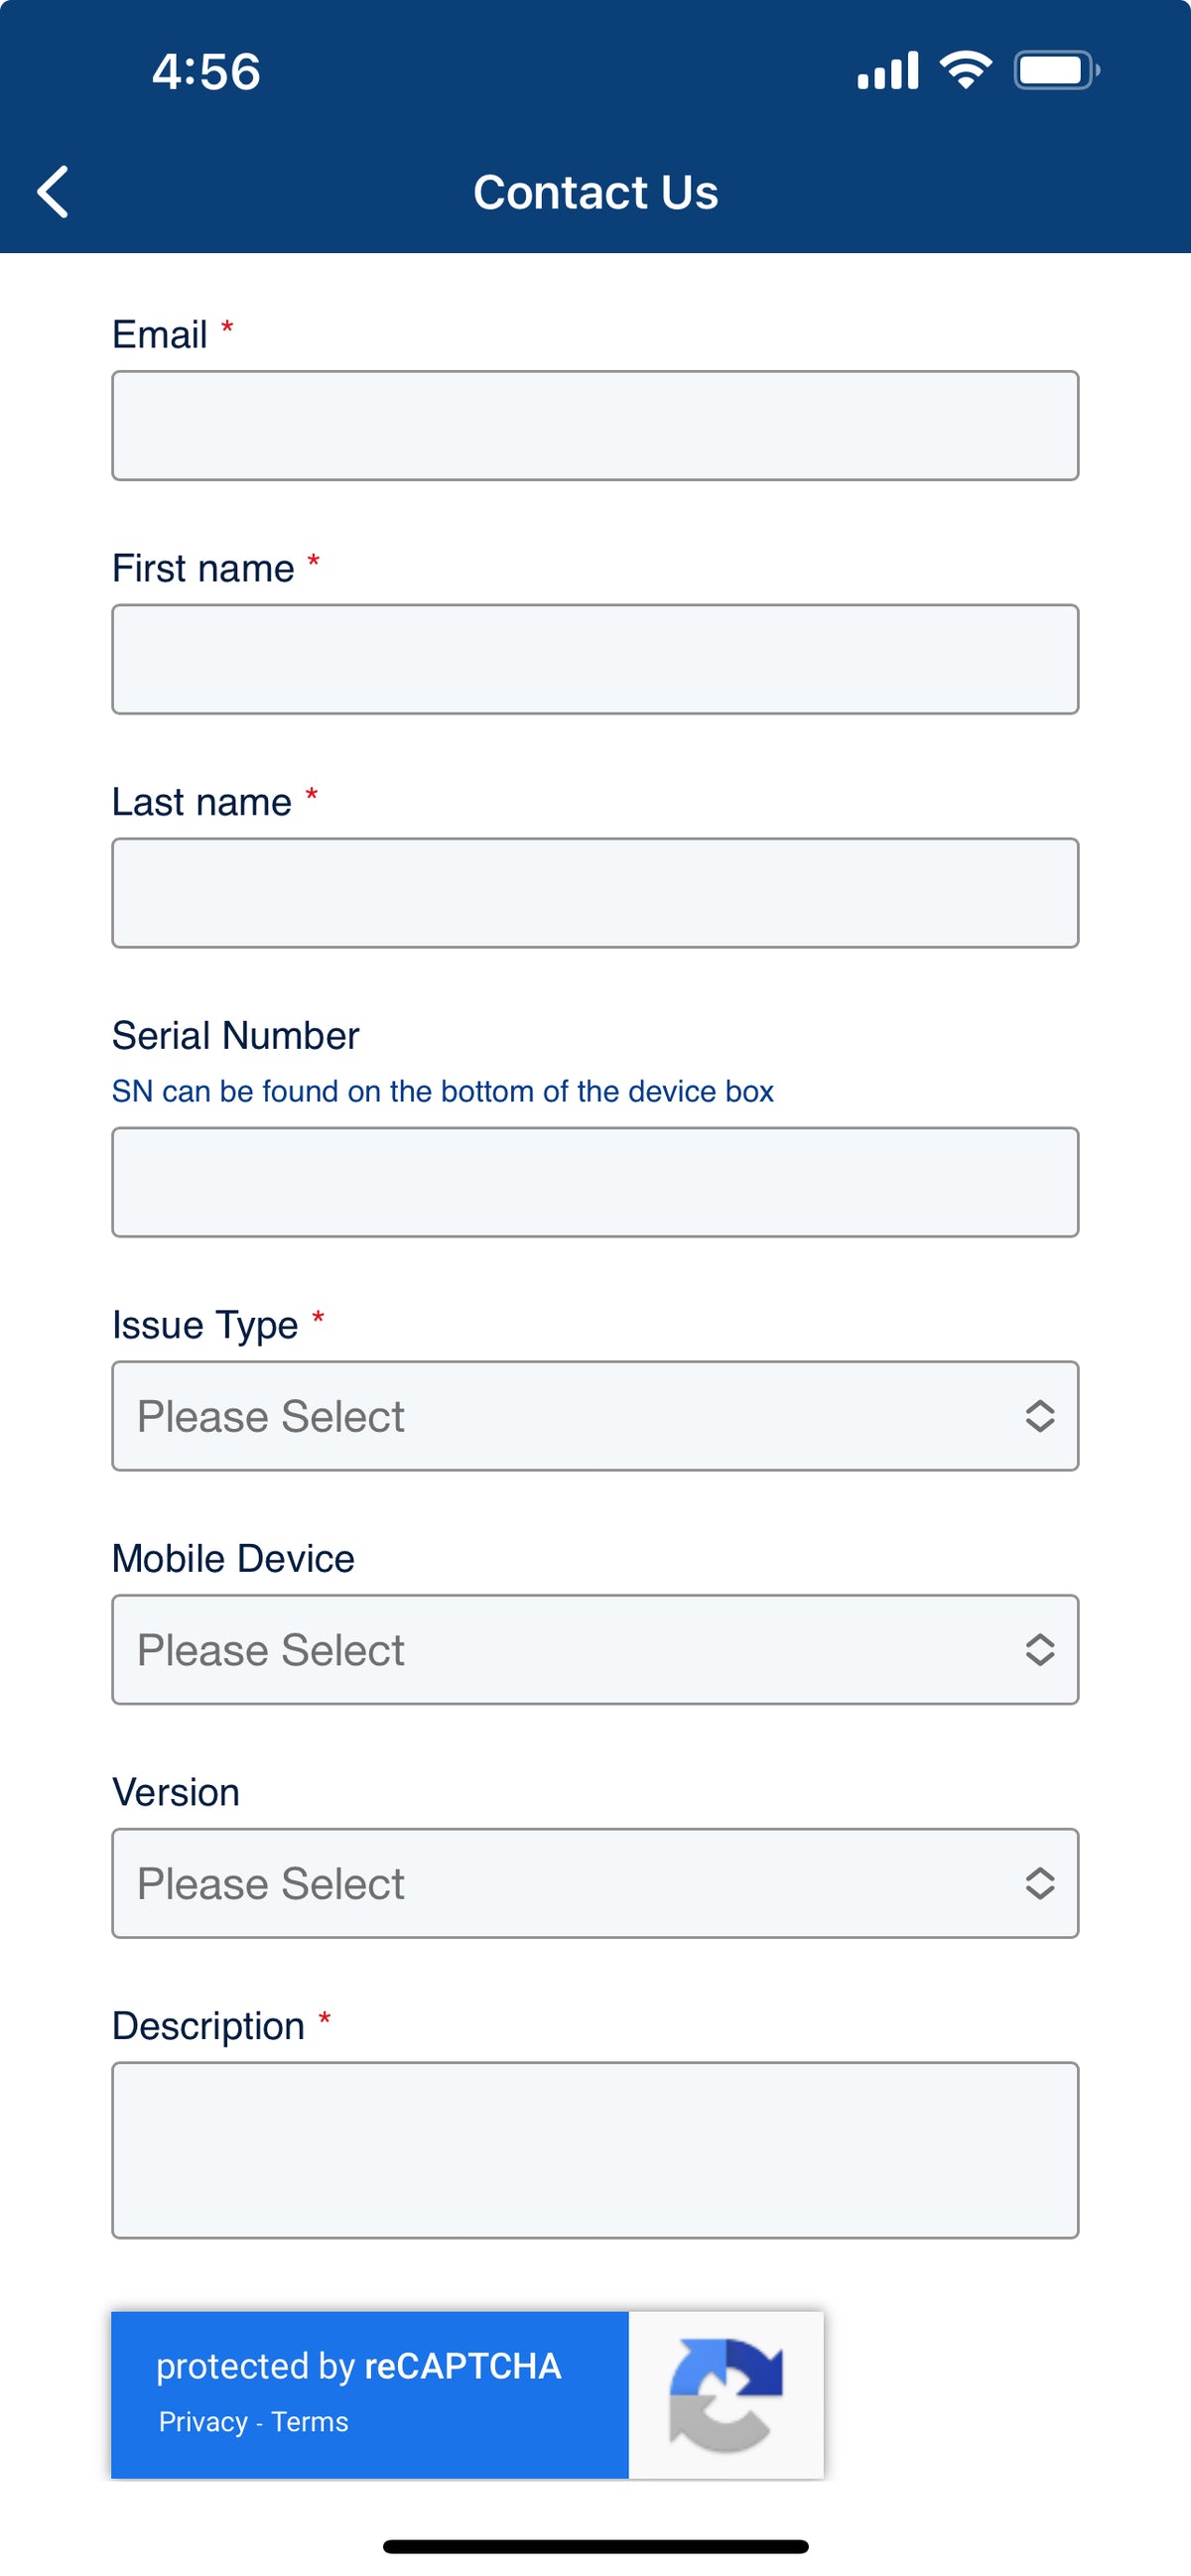
Contact ActivBody support by tapping the “Contact Us” button.
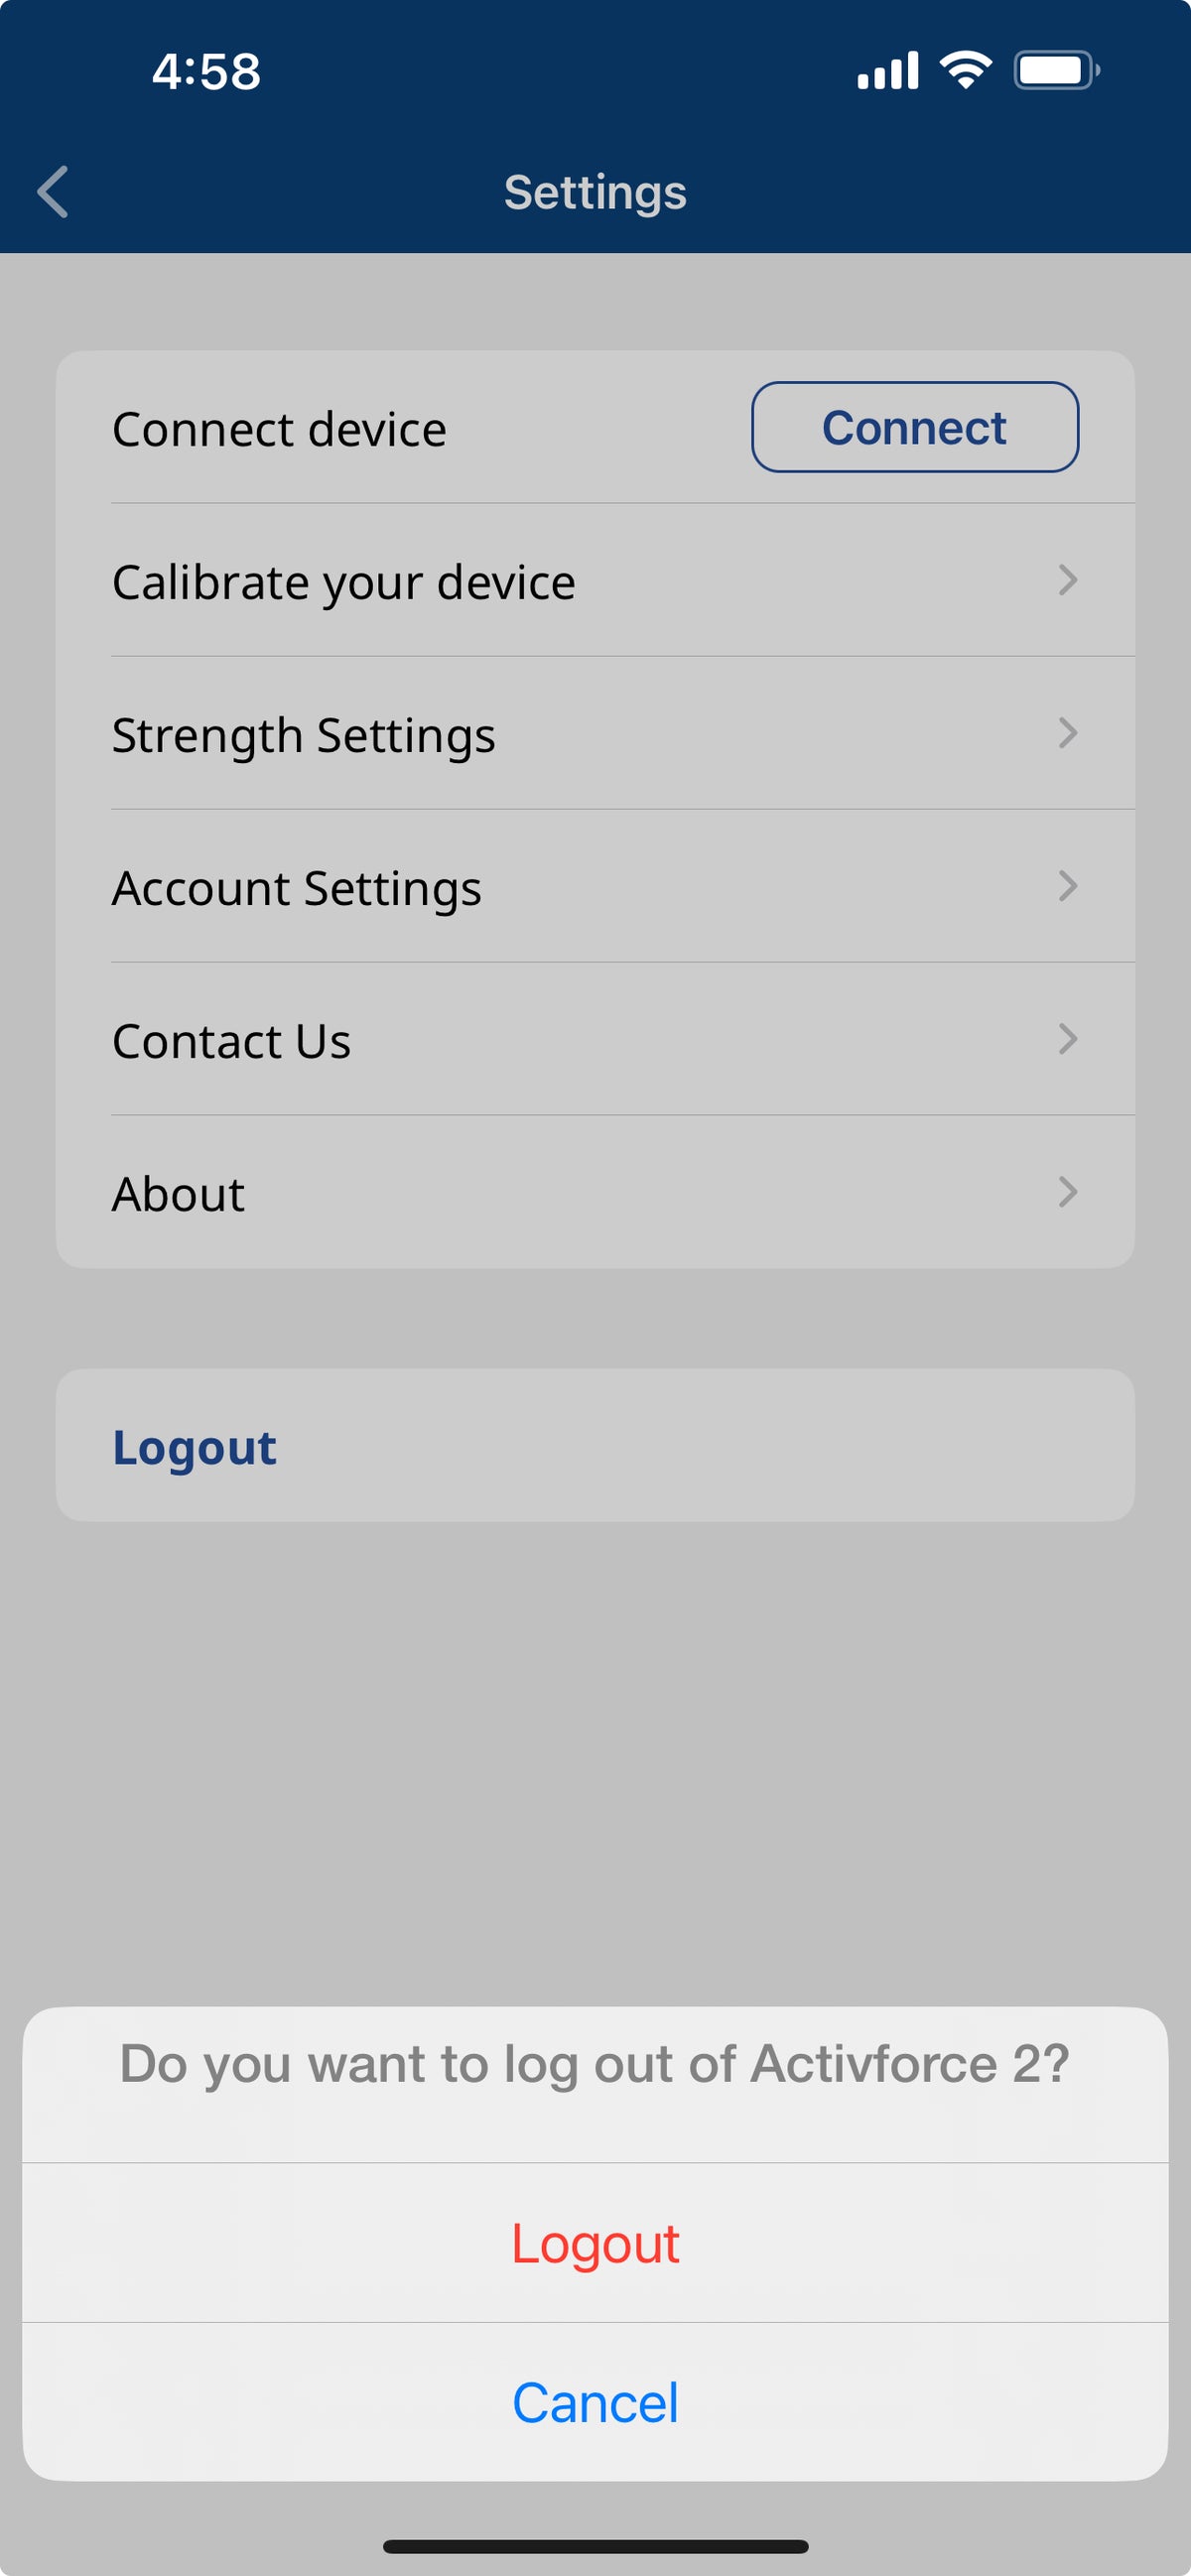
Log out from the current ActivForce account by tapping the “Logout’’ button. After signing out, the app returns to the welcome screen where you can sign in again.
Using the ActivForce Web Dashboard
The ActivForce web dashboard, available at https://activforce.activbody.com, displays saved force and angle measurement test reports. Reports are saved to the dashboard when you use the “Save and Exit” button on the ActivForce mobile application.
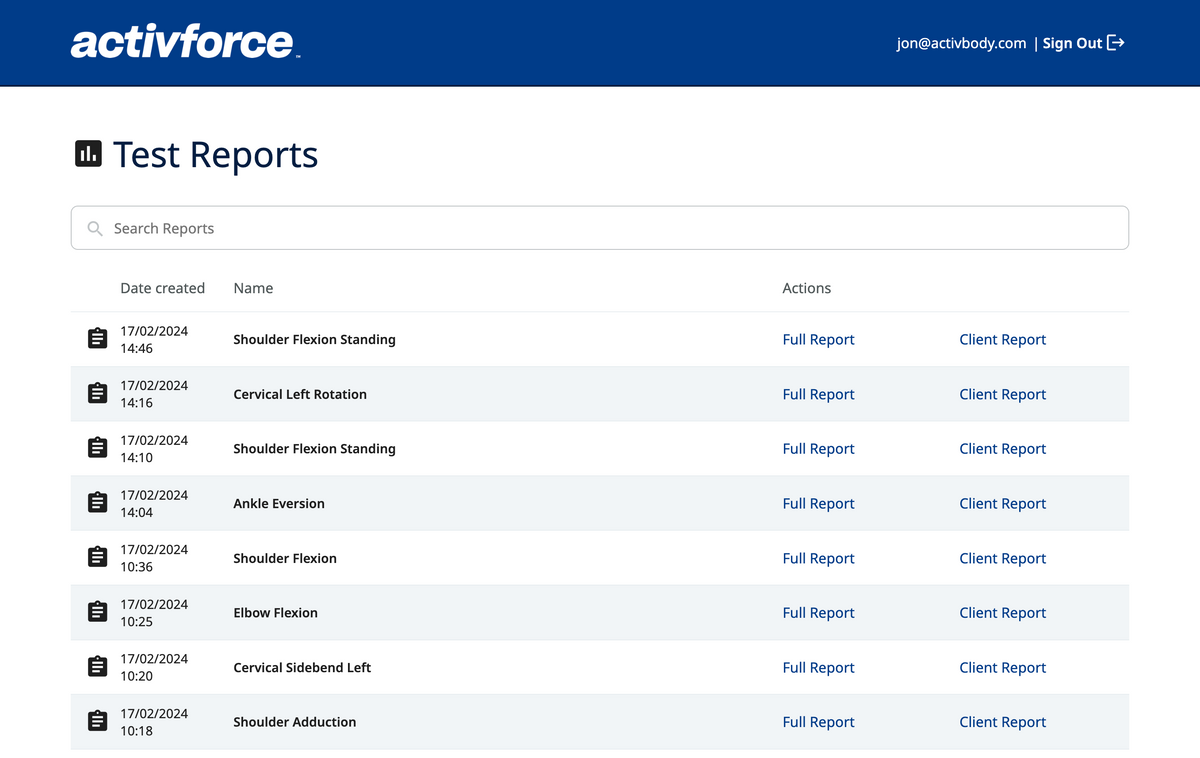
Sign in to the ActivForce web dashboard with the same email and password used in the
ActivForce mobile application. After a successful sign-in, saved test reports will be displayed
in the dashboard.
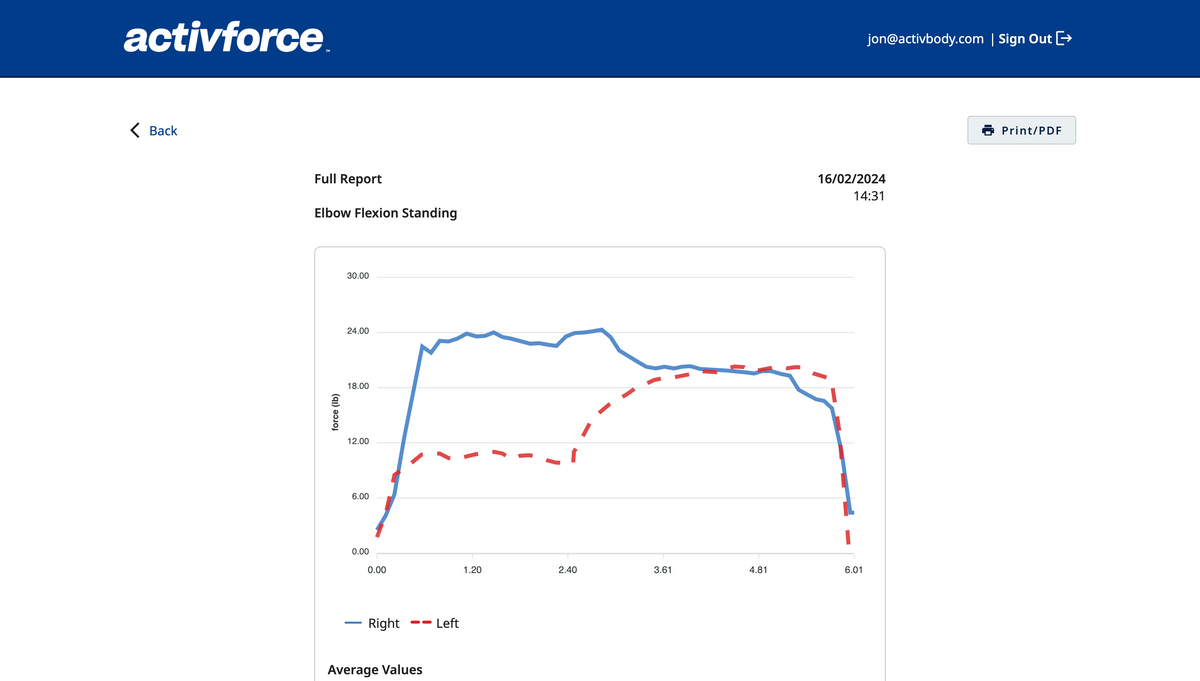
A test report in the dashboard will contain the information recorded during the administration of the test.
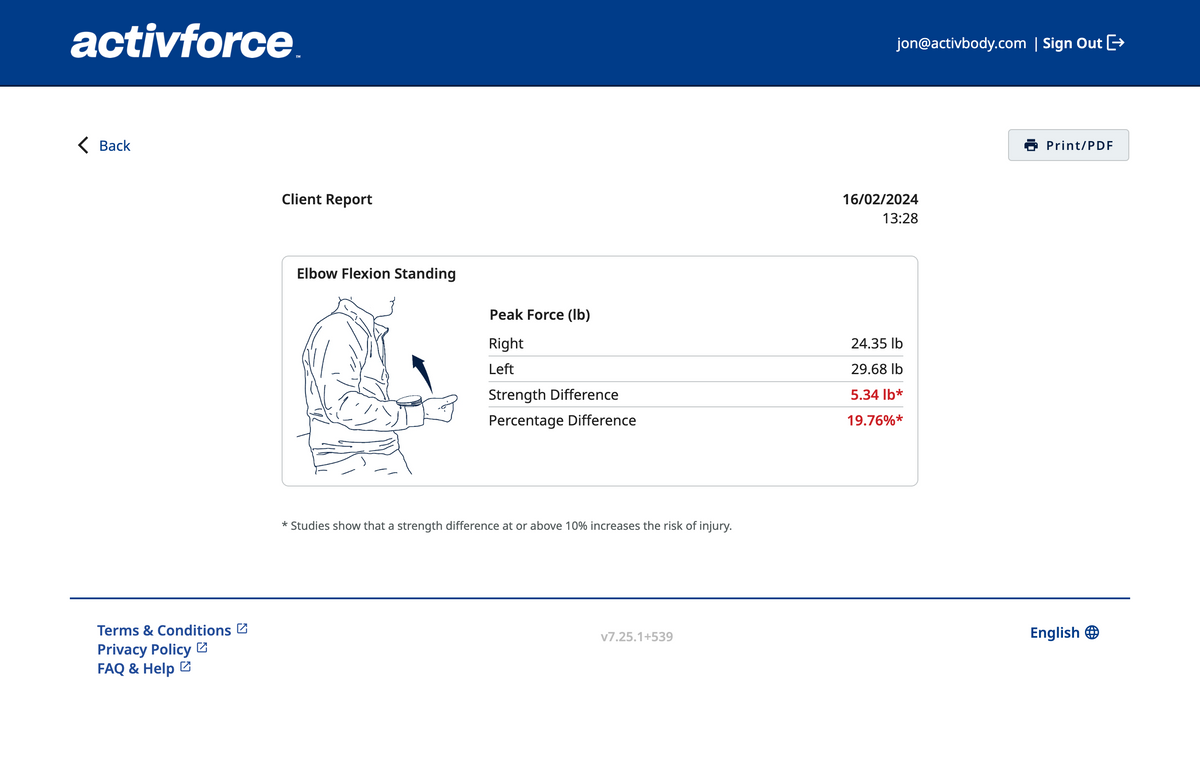
The dashboard will also contain all test summaries for a client in a Client Report, accessible by clicking on the “Client Report” link from the dashboard home page.